As many of you know, I’ve made multiple trips to post-earthquake Haiti to work with artists, children and communities. In my time spent there, I’ve developed friendships and been honored to meet people who are doing an amazing job of being on the ground resources to help renew Haiti. The earthquake happened over six years ago and these people and organizations are still there making progress, everyday.
As I type, Hurricane Matthew is bearing down on the island and bound to leave disaster in its path. Many of these on the ground organizations have done what they can to help the people prepare for the storm, but the fact is that most of the residents don’t live in homes that can hold up to a storm like this and aid relief will be needed for thousands by the time this storm has passed.
If you are inclined to help, please consider donating to Haiti Communitere. I have worked with them and seen them in action, your dollars are very well spent here.
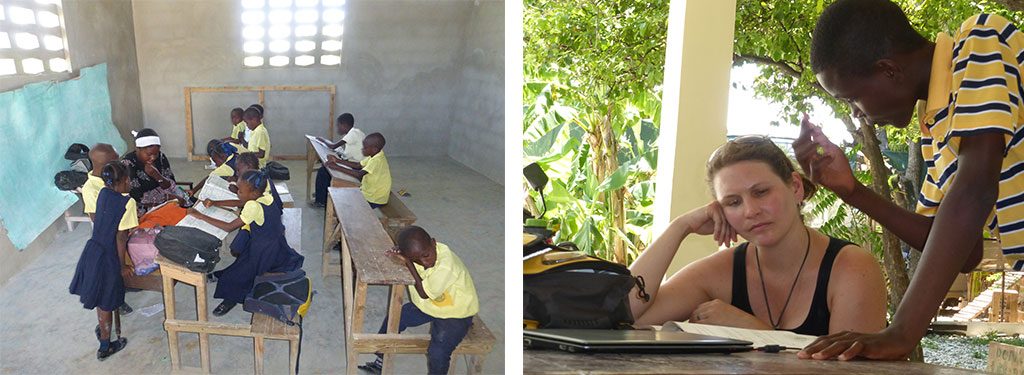
This classroom is at a school in one of the most impoverished areas of Port au Prince and run by one of the most inspiring people I’ve met Winter Luc. The other photo is at Haiti Communitere’s base in Port au Prince where my good buddy Caleb is explaining to me what he’s learning in school and how he’s going to be a doctor someday.
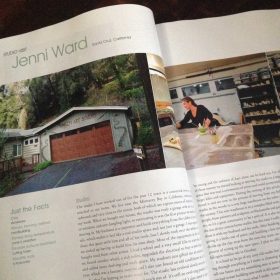
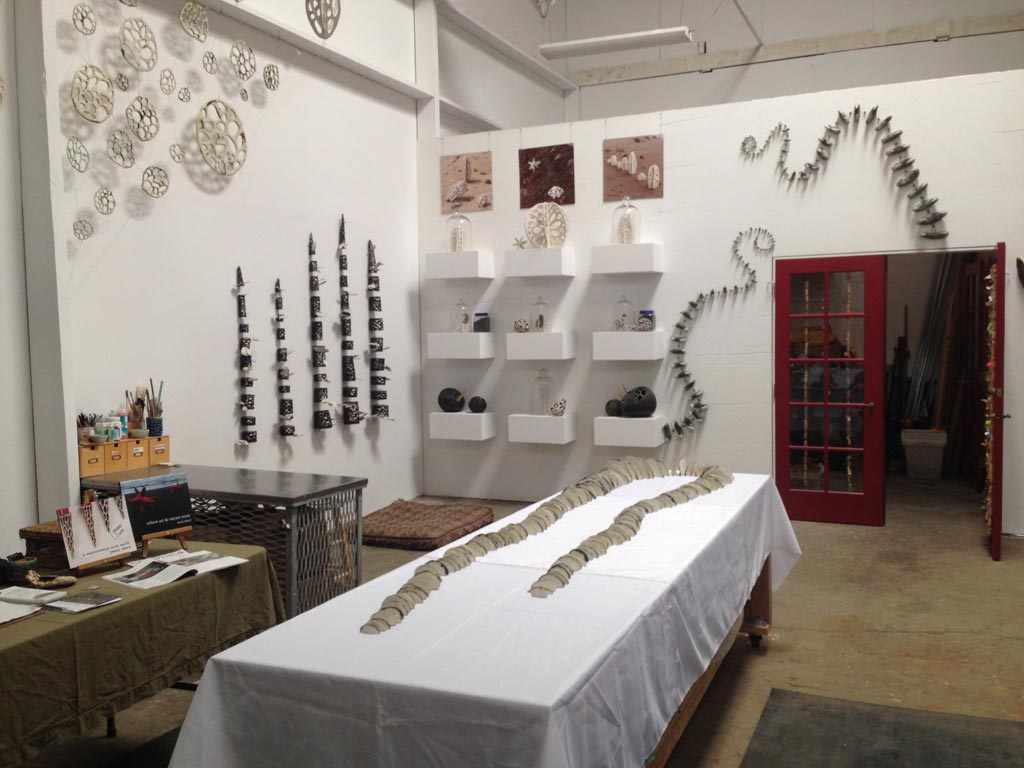
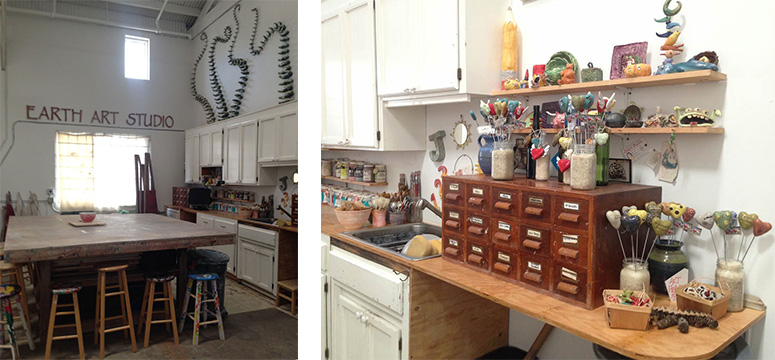
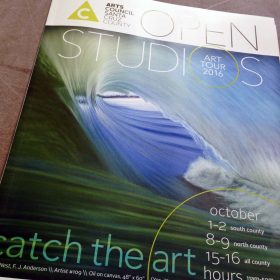
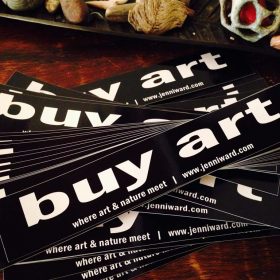 Just a reminder that Santa Cruz Open Studios is just around the corner and I’m looking forward to seeing you at the new studio! I’m looking forward to celebrating my 12th year of participating in the tour. I will have installations & individual pieces in a ranges of sizes and prices so there will be something for everyone! When you arrive at the studio make sure to sign up on the mailing list to get your free BUY ART sticker!
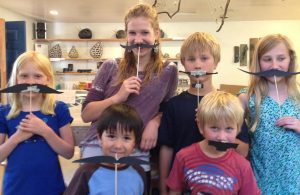
 Earth Art Studio students rocked at the Santa Cruz County Fair this year! We racked up the ribbons like champs with eight 1st place, twelve 2nd place, fifteen 3rd place and six Honorable Mentions in the sculpture and ceramics divisions of the youth Fine Arts Department! Amazing talent abounds with these little artists!