Join me for my first online workshop ‘How to Incorporate Kanthal Wire Into Clay’ this Sunday September 12th at 10AM PDT with The Ceramic School!
Details about the workshop and how to sign up are available here…

Join me for my first online workshop ‘How to Incorporate Kanthal Wire Into Clay’ this Sunday September 12th at 10AM PDT with The Ceramic School!
Details about the workshop and how to sign up are available here…
Here’s the monthly wrap up of everything going on at the studio…
Want to get the monthly email right in your inbox?
Join our safe subscribe monthly mailing list:
My third art catalog ‘inspiration through exploration’ has just arrived!
It will be available at Open Studios this October and in the online shop soon!
I have been a fan of Cynthia’s work for a long time, the textures on her pieces are incredible and they draw you in to the movement of her figures and forms. I have probably known her work longer than I’ve known her, as we have shown our work at the same local venues over the years, both being clay artists working in the same town but hardly crossing paths in person. When we went to the same residency in Taiwan, one year apart from each other, she was able to share all of her experiences there with me before I left for my residency- which was fantastic! And we became friends through the process of putting together exhibition ideas for the NCECA conference. We spent lots and lots of time pitching ideas to each other, editing content and not only did it forge a friendship, but it also resulted in a big upcoming show.
In March of 2022 we will be co-curating an exhibition entitled This is the Anthropocene at the 2022 NCECA conference. The Anthropocene is defined as the current geological age during which human activity has been the dominant influence on the climate and the environment. 5 artists will be responding to this topic within the themes of Animal, Agriculture, Landscape, Water and/or Atmosphere in a diversity of styles and approaches. Cynthia will be featuring work from her beautiful Bristlecone Pine Series as part of this exhibition. Over the next few months, I’ll be featuring the three other artists that Cynthia and I curated into this exhibit.
If you want to see her work in person, be sure to visit Cynthia’s studio October 9th, 10th, 16th, or 17th for the Santa Cruz County Open Studios Art Tour, she’s artist #160 in the catalog. And check out the video below to see how Cynthia builds her large scale figures.
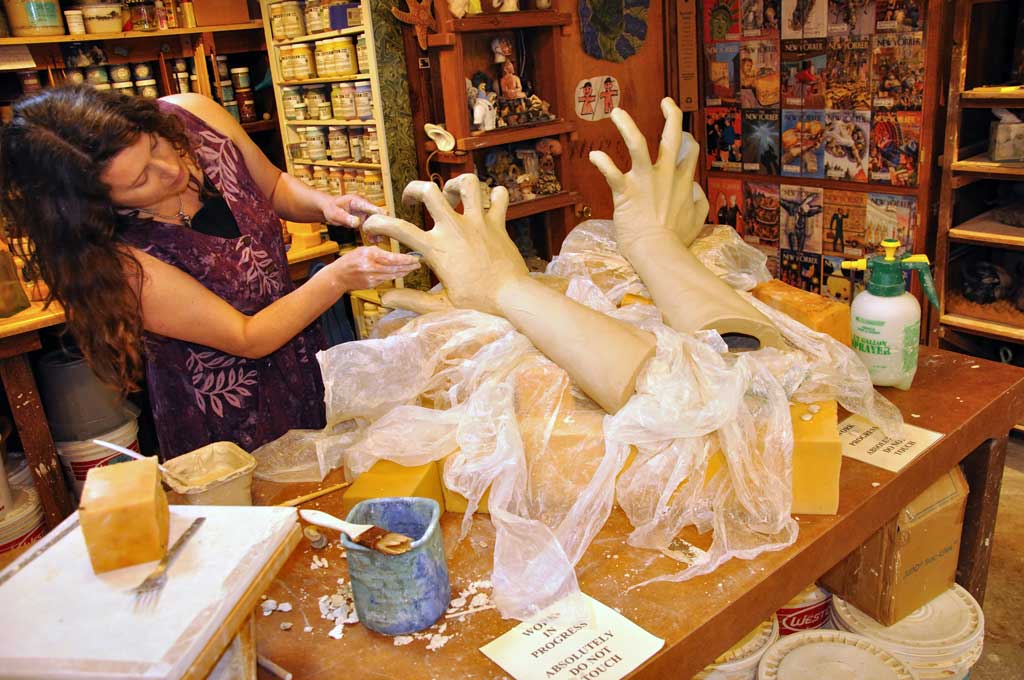
I create figurative work, primarily ceramic sculpture, which celebrates human connection to the natural world. By re-establishing human respect for all flora and fauna, I believe that the earth may again find its balance. I revere the beauty that comes from the passage of time, and the struggle to survive and adapt. My imagery and process of meditative mark-making are fueled by a love of storytelling, anthropology, anatomical structure, and natural history.
One of my current work series is inspired in part by the ancient bristlecone pine trees of the western United States, (particularly the groves close to my former home in Bishop, a remote town in the high desert of the Owens Valley in eastern California), As a parallel to the human struggle for survival, I’m drawn to the tenacity of the bristlecone pine trees that have endured for thousands of years, both because of and despite their fragile environment. The textured surfaces of my sculpture reflect the intersection of time, weather, growth, and decay. As memory and experience abstract themselves over time in our minds, so I encourage my figurative sculptures to transform themselves, in the form of markings carved upon their surfaces. My intent is to connect with others, to bring awareness to nature’s current state of peril and to empower viewers to reconsider and to recalibrate their own relationship to our earth.
Learn more at Cynthia’s website or follow her on Instagram and Facebook
Artists Sharing Artists: is a series of posts where I share some of my favorite artists who are also inspired by nature and use their art to protect what they love. More artists coming soon…
When you go visit the Price Sculpture Forest and start to explore the trails and sculptures, you’ll also want to log on to their wifi. Normally you’d think about your time in the forest being a tech-free space but here, each piece of art has a QR code on the sign for the artwork. If you scan the code with your phone, it will launch you to a webpage about the artist, their work and a video of them sharing their work in their own words- it’s kind of like getting a personal virtual tour by each artist as you make your way from piece to piece. It is such a great way to get more out of your visit and to explore the meaning, methods and concepts behind each of the sculptures. Below is my video….enjoy!
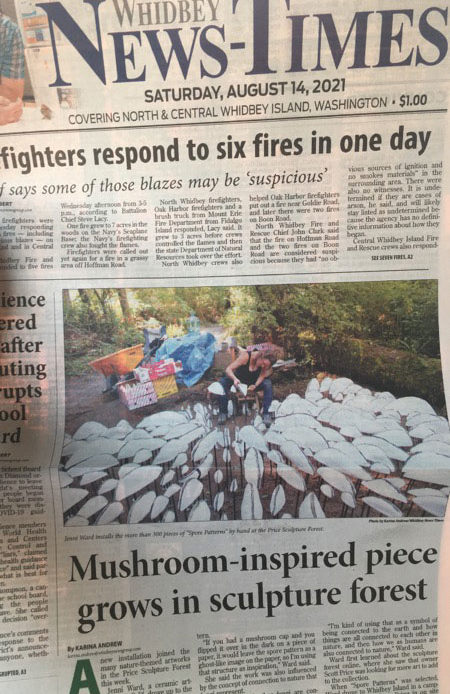
I was so lucky to have two great articles written about my installation at the Price Sculpture Forest. The Whidbey News Times did an article as well as the Whidbey Weekly – be sure to check them out!
Check out all the photos and information about this installation here!
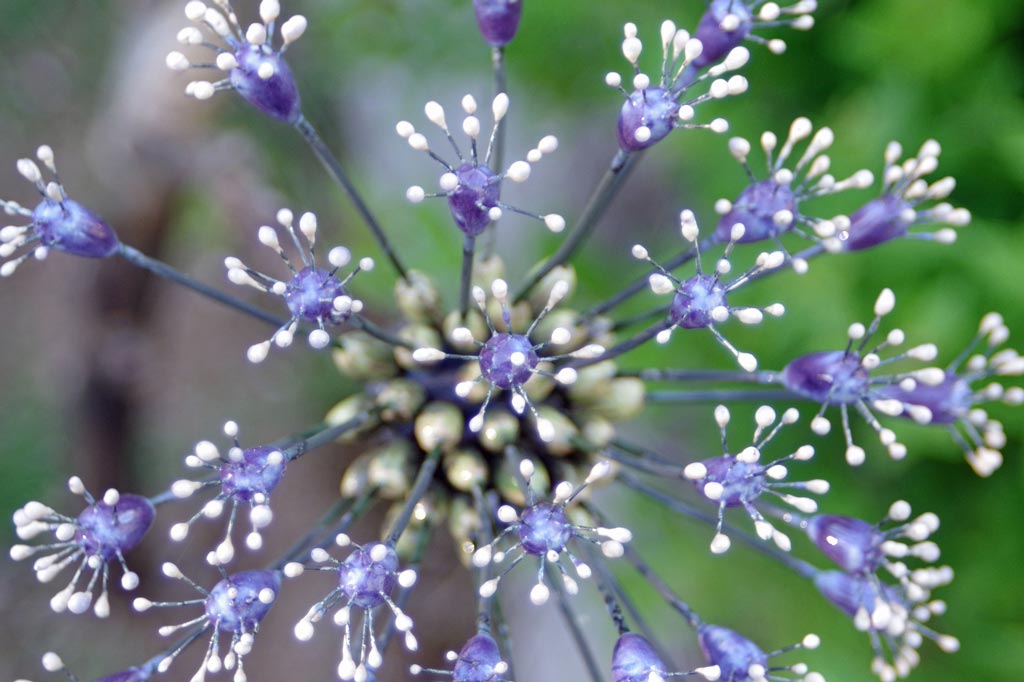
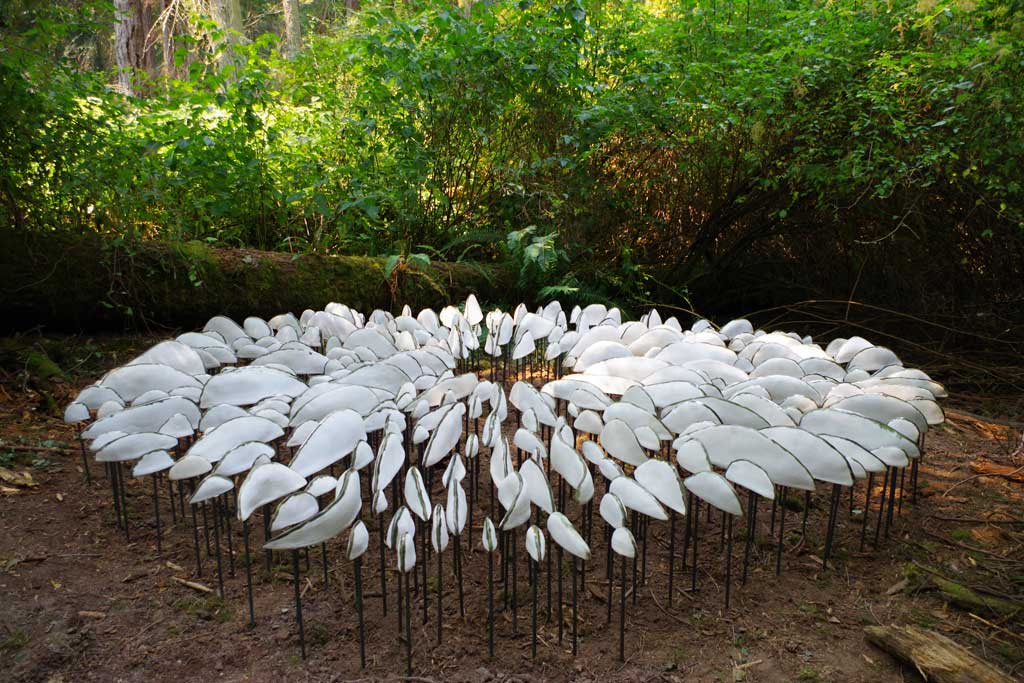
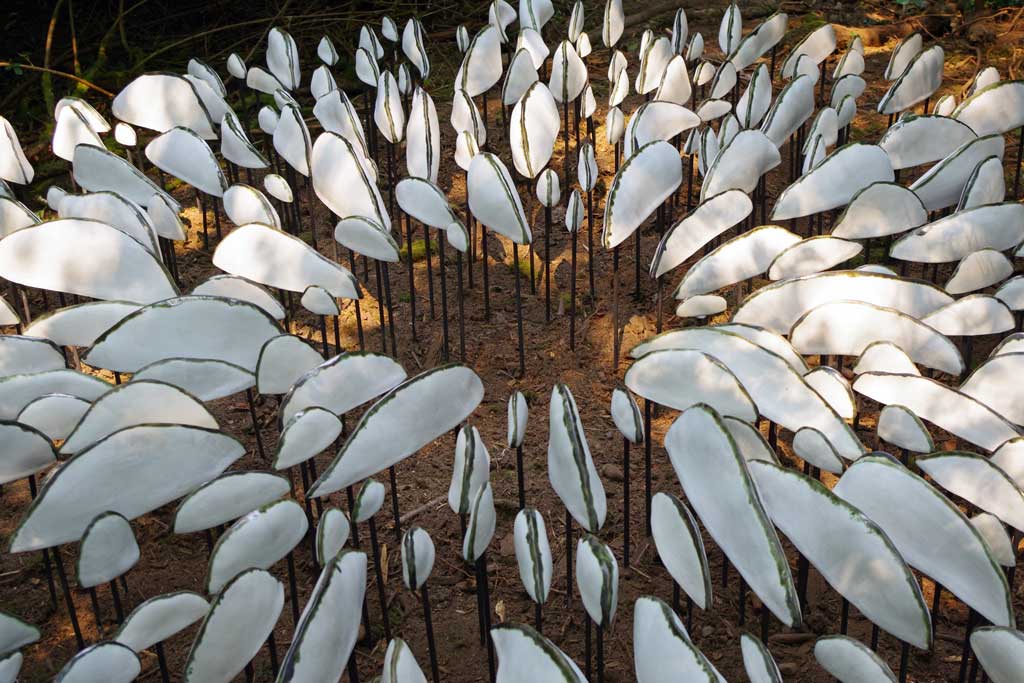
Lichen Series | Spore Patterns Installation
Price Sculpture Forest, Whidbey Island, WA
144″ x 144″ x 18″, ceramic and steel rod, 2021
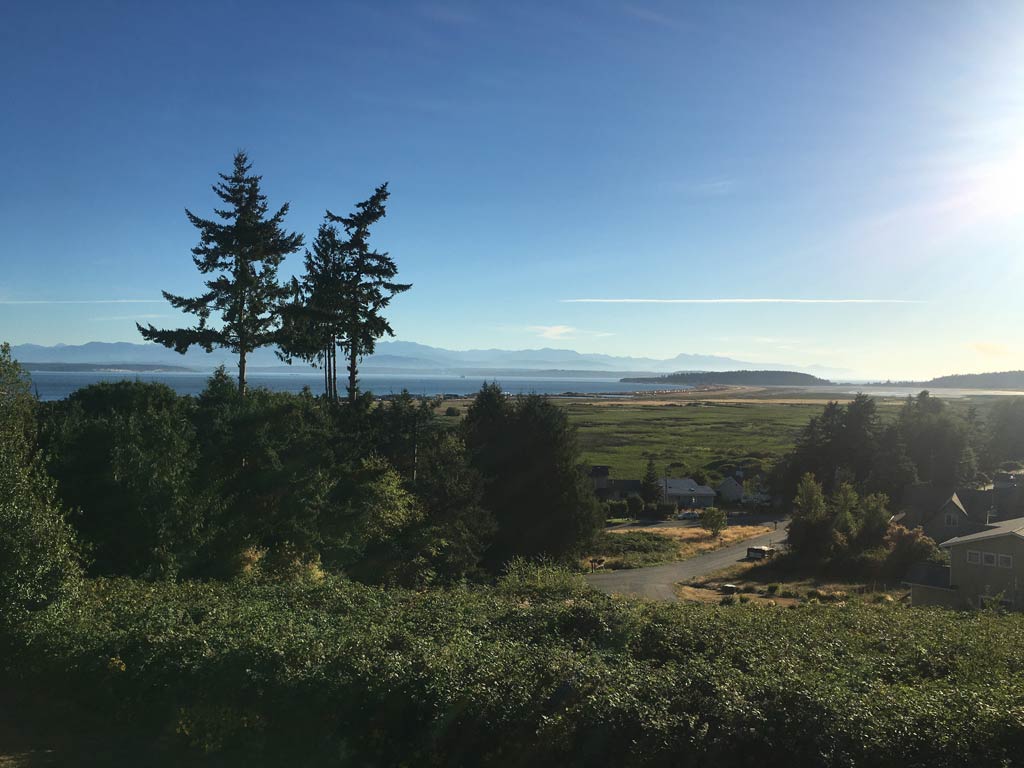
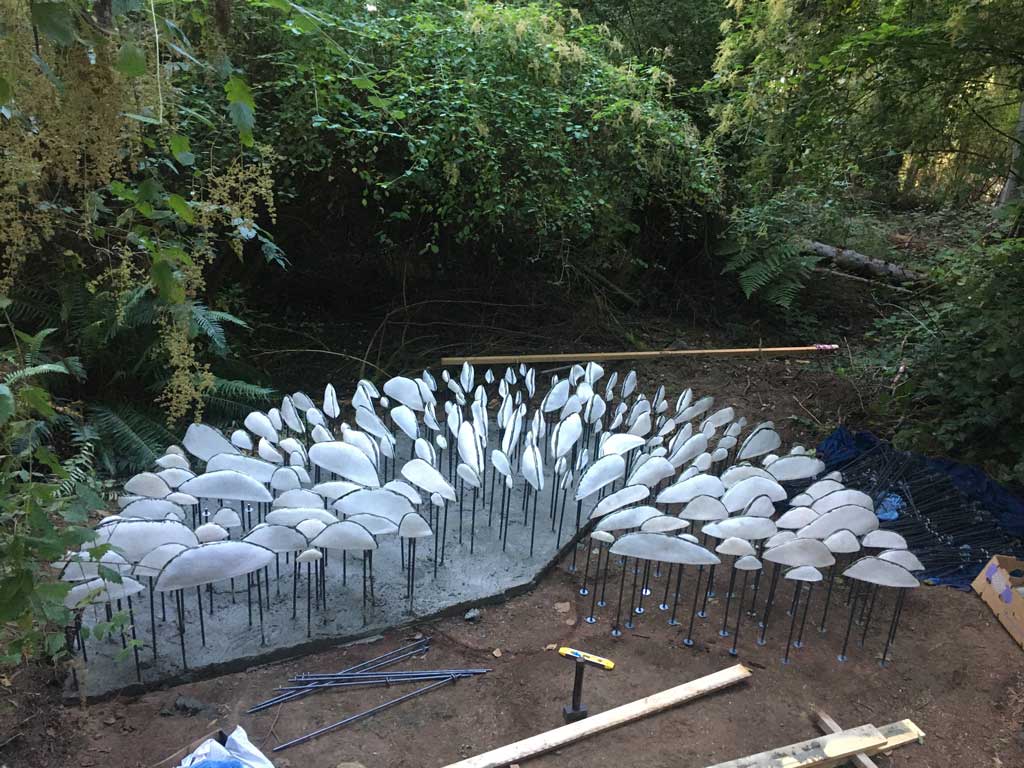
Day three working on the installation was spent getting the 4th section of the composition installed and laying out the last section. It was a shorter working day because I was invited to a potluck by local artists and supporters of the Price Sculpture Forest. It was so lovely to meet everyone and get a chance to take in the gorgeous views the island has to offer. The community here has been so welcoming and supportive of my contribution to the forest. I will definitely be back here again but for playtime instead of work next time.
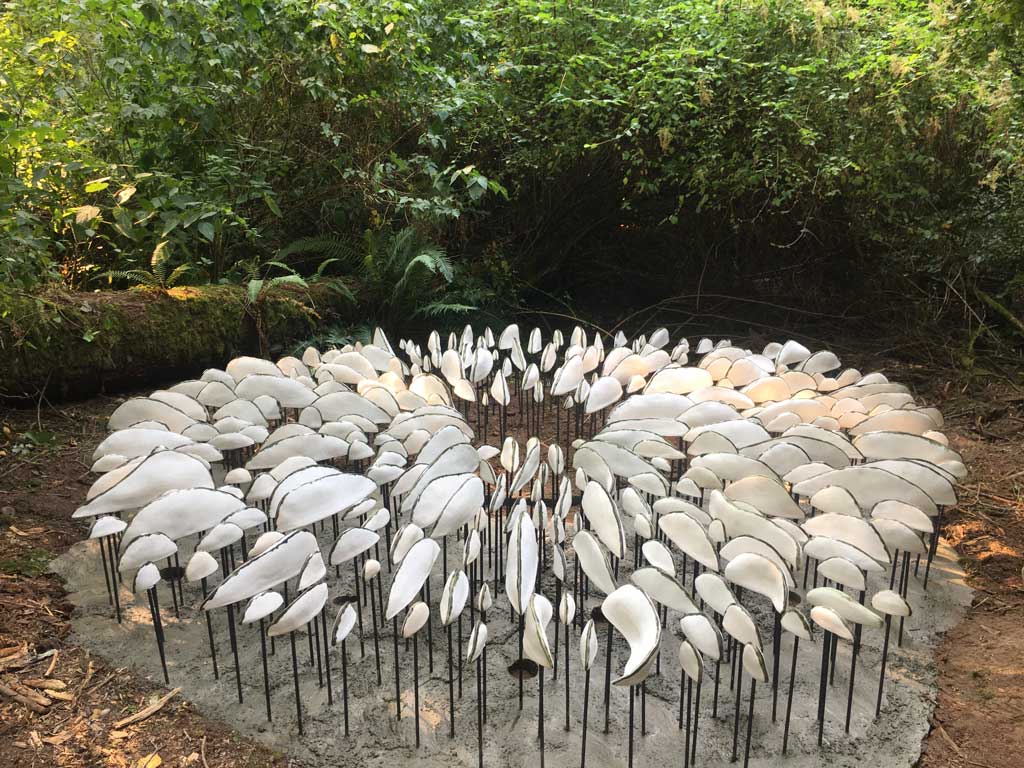
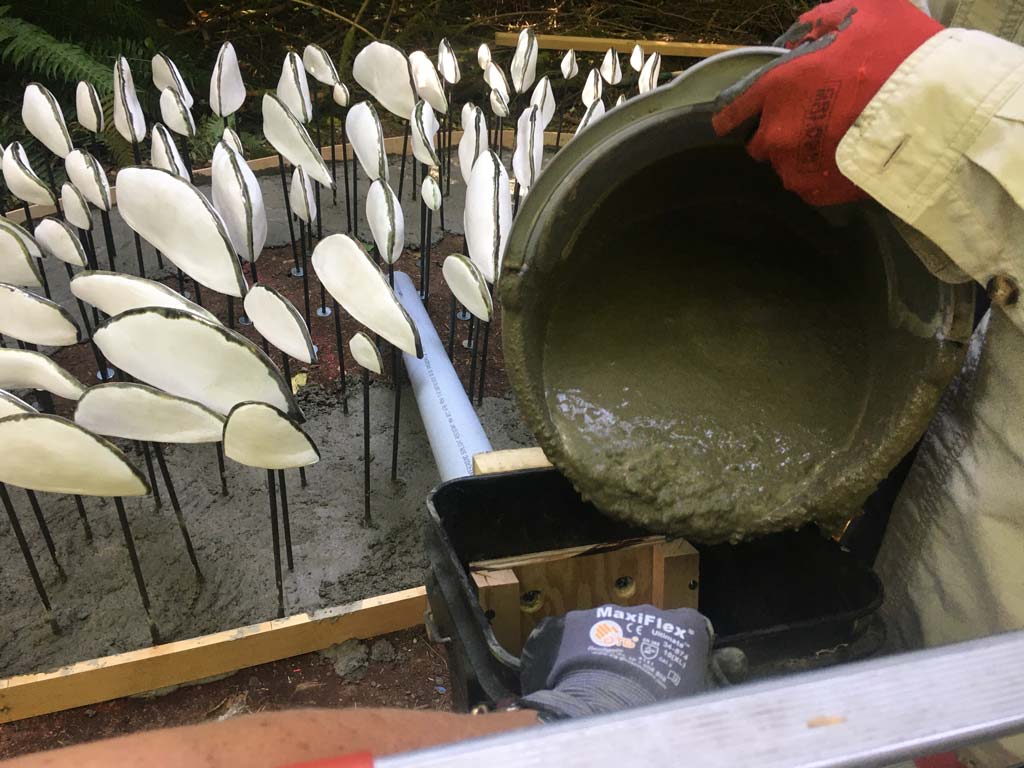
Day four was filled with finishing up the last section of the circle and then pouring concrete underneath the last three sections. It was tricky to get the concrete to run everywhere but we made it work and eventually everything was covered, with some drainage areas designed in too. There is so much that goes into creating a site specific installation like this; so many hours, so much labor and materials that are beyond the main medium of ceramics. The ceramic pieces are obviously the focus, but all the support systems that are built to showcase the ceramic pieces are often more work, cost and effort and yet go sort of unseen. Tomorrow will be the final work day on site and we’ll backfill over the concrete so the forest floor can return to its natural state and the piece will become a part of the landscape.
I’m really grateful for all the help I received to make this piece possible, from my husband Nate with design and fabrication ideas, to my artist neighbors sourcing materials for me and offering advice and to Scott Price for his vision on this sculpture forest, and who has been getting his hands dirty everyday helping me make this installation a reality. It takes a village to raise and artist and I’m so grateful to my village.
Final photos will be coming next week… stay tuned!
After a two day drive north, I arrived at the Price Sculpture Forest on beautiful Whidbey Island last weekend to start the process of installing my site specific piece entitled Lichen Series | Spore Patterns. I arrived in the middle of a random summer rain storm which seems perfectly appropriate for the Pacific Northwest, everything was lush and green. I was given a personal tour of the forest by founder Scott Price and got details on the artists and works in the collection. Then we got to work scheming and scheduling all the components of this installation. Scott’s dad also got involved designing a custom contraption that would safely and cleanly distribute the concrete to the base of the work in the days to come.
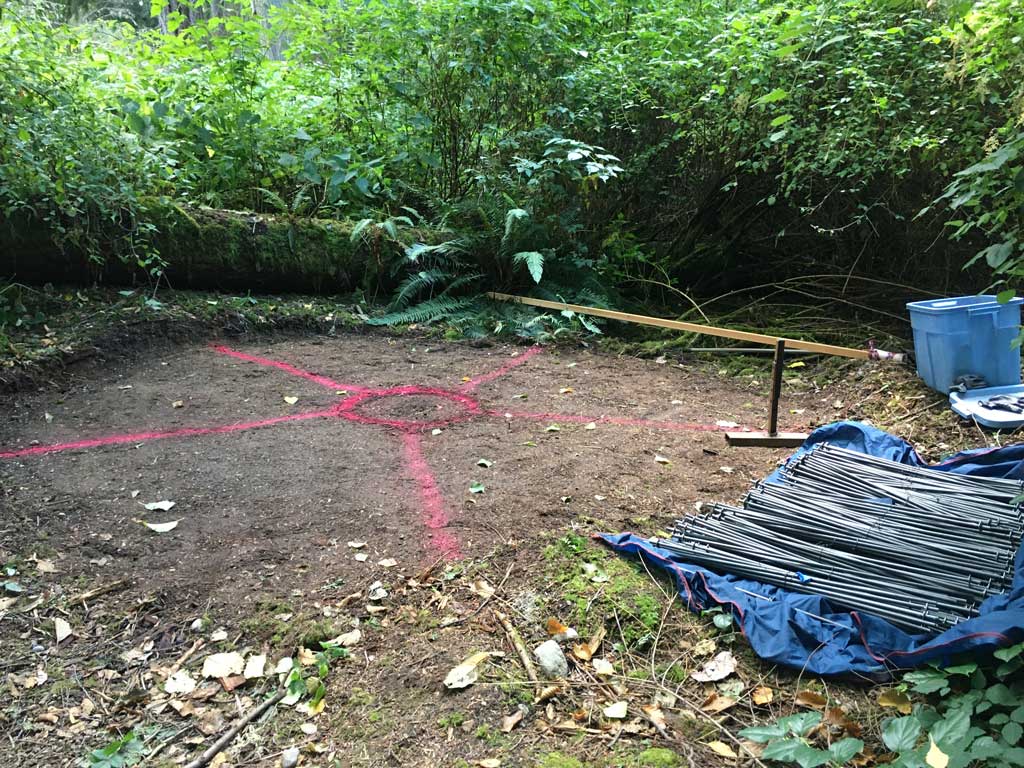
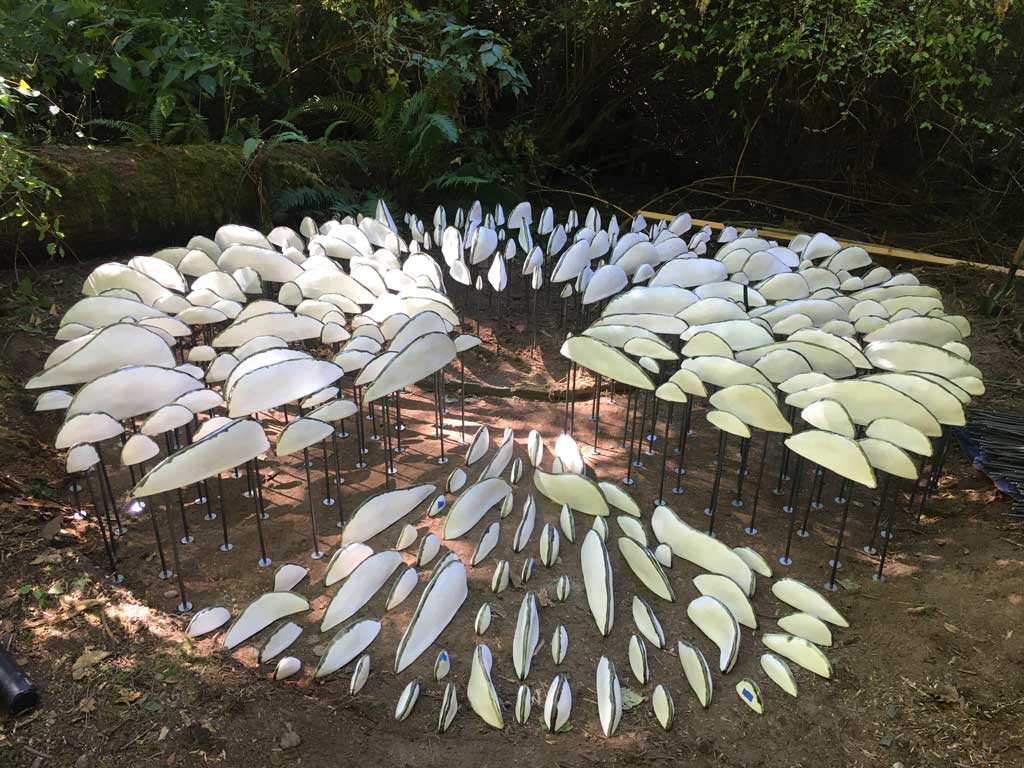
All of the ceramic parts and steel rods were unloaded from the van and carted box by box down the trail to my site including over a ton of concrete that will be used to hold the pieces in place. I got to work on laying out five separate sections of the radial composition and laying out all of the pieces.
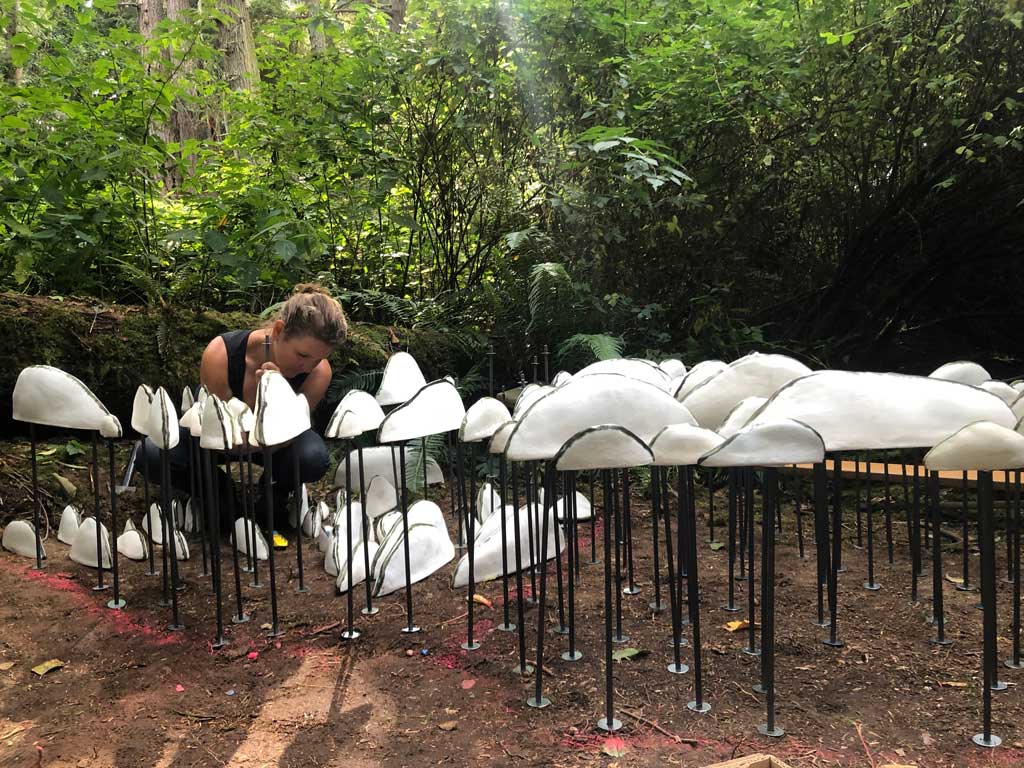
Then started installing the over 300 ceramic pieces onto steel rods that had been predesigned to hold them. I even had friends who took a day out of their vacation in the area to help me get started installing and who kept me laughing all day. By the end of the first day, 2 sections had been installed and were ready for concrete. By the end of the second day we successfully used the concrete contraption and poured two sections with concrete and had another section installed.
It’s been long and laborious days, but the installation is really looking great, so it’s all worth it. It’s also great to hear the interest from visitors who are walking by on the trail, everyone is very excited to see what the piece will look like and to learn all about it. The next few days will reveal the final installation and it’s my goal that by the time I pack up all the tools and boxes, replace the underbrush of the forest floor, and let the birds return peacefully, it will seem like the installation has grown in the forest all on it’s own.
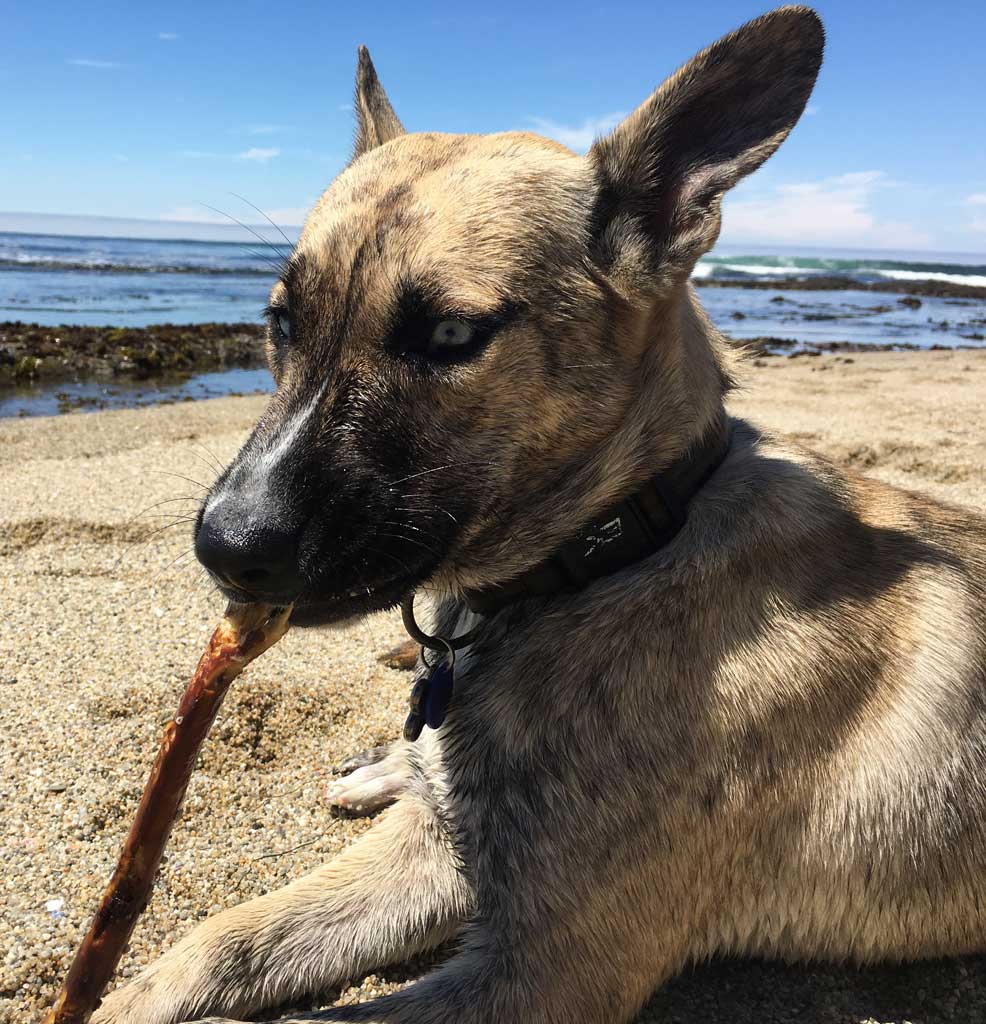
Our newest studio mate has arrived!
It’s been a few years since we’ve had a furry companion in the studio but we’re so happy to welcome Bowie into our pack. He’s a rescued 8 month old mix of shepherd, husky and cattle dog (we think!). He’s super sweet, smart and full of puppy love.
Hope you get to meet him in person soon!