Clay in the Classroom: Keeping it Clean

When you talk about bringing clay into a teacher’s classroom, you can see the cringe creep across their faces as they imagine the amount of clean up involved in making these clay projects. But after over 10 years of teaching clay in other teachers classrooms, I’m here to tell you that it’s possible to do clay projects and not make a huge mess.

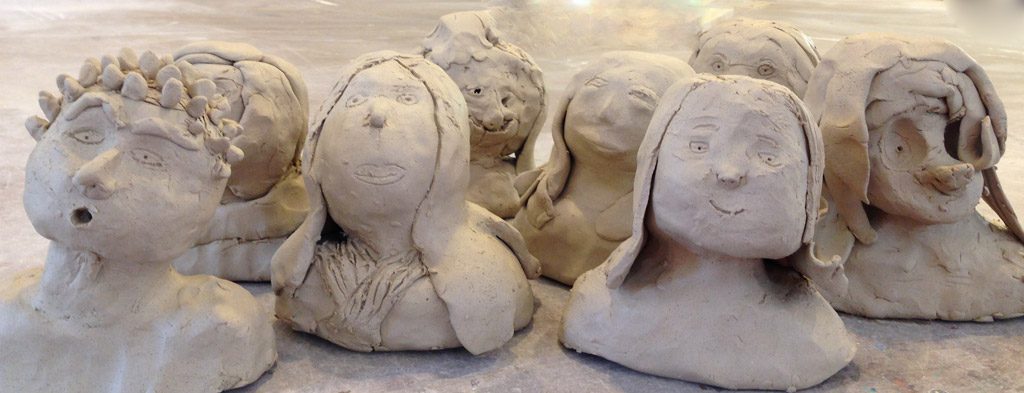
First, each student gets a board to work on at their spot. This board helps keep them, their desk and their project contained. In the beginning, I had canvas covered wood boards that were stacked into a wooden wine crate, but it was heavy to cart around and the crate only fit 20 boards. So I switched to using plastic cutting boards from Ikea. They worked great; they were affordable, durable, lightweight to carry classroom to classroom and easy to clean.

Clay in the Classroom: Keeping it Clean | the dirt | Jenni Ward ceramic sculpture

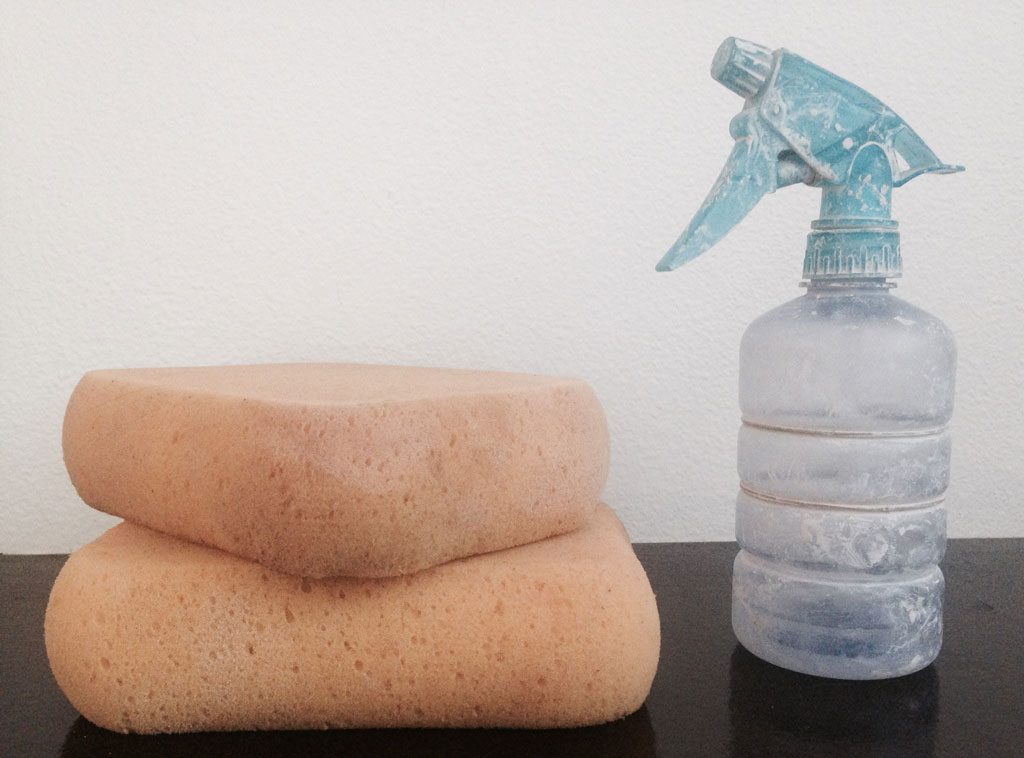
The other key to keeping the classroom clean is to not use slip (clay and water mixed together into a muddy slurry) when attaching clay parts together. Generally, slip is used as a ‘clay glue’ and the proper attaching technique is to score both parts of the clay you want to attach, then paint on a little slip and smooth the parts together. Slip and kids are a messy combination and I found that just scoring the clay and blending, really did the job, which allowed me to eliminate using slip in the classroom altogether. To remind the students that they still needed to score their clay thoroughly, I dubbed the technique: ‘scratch-to-attach’ as an easy way to remember this crucial building step. If student’s clay becomes a little dry through the building process, I bring a spray bottle of water that I can give each project a little spray as needed, keeping the water mess to a minimum.

Once all the projects are finished and it’s time to put away all the clay tools, I ask students to make a ball from all of their remaining clay bits and return that to the clay bag. I ask them to brush any remaining dust or crumbs of clay into their hand and dump that in the garbage or into the clay recycling bin if you have one and then return their cutting boards to the designated box. Once that’s done, they can use a big sponge to wipe down their desks and double check for any clay that may have fallen on the floor. At that point, your classroom should be clay free and students can get back to books.

Clay in the Classroom: Recycling Clay

If your clay gets to dried out from over working it or it gets too wet and mushy to build with, you don’t need to throw it in the bin, it can all be recycled so that every bit of clay you buy can be used. Here’s how I do it in my classroom…
Clay in the Classroom: Recycling Clay | the dirt | Jenni Ward ceramic sculpture

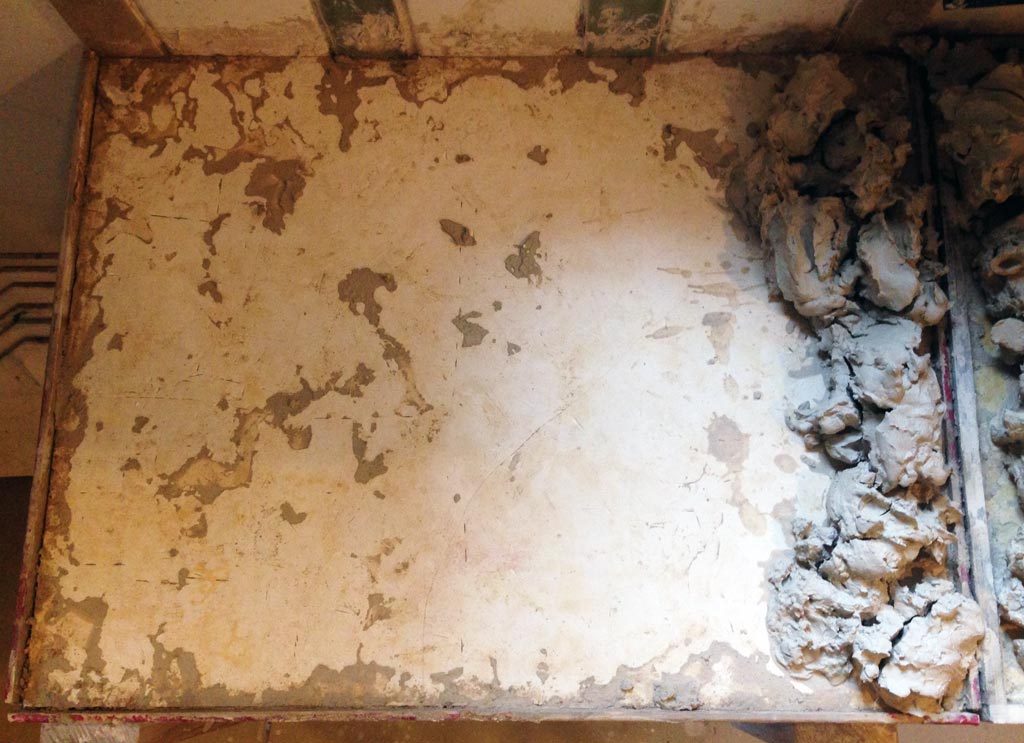
First, you’ll need a plaster board. If you’re recycling small amounts of clay, you could use some scrap drywall pieces with the paper removed from one side of it, if you’re recycling larger amounts, you’re going to want to make a thick plaster board. I have a board that is about 3’x 2′ with wood edging around the outside of it that is about 3″ high. You could use an old shallow drawer if you’ve got one.

Next, mix up your plaster per the directions on the bag and pour it into your frame, make sure the top is as even as possible and tap the sides of it to release any air bubbles that may have gotten trapped in the plaster. Let the plaster set up and harden, give it a few days to dry out before recycling any clay on it.

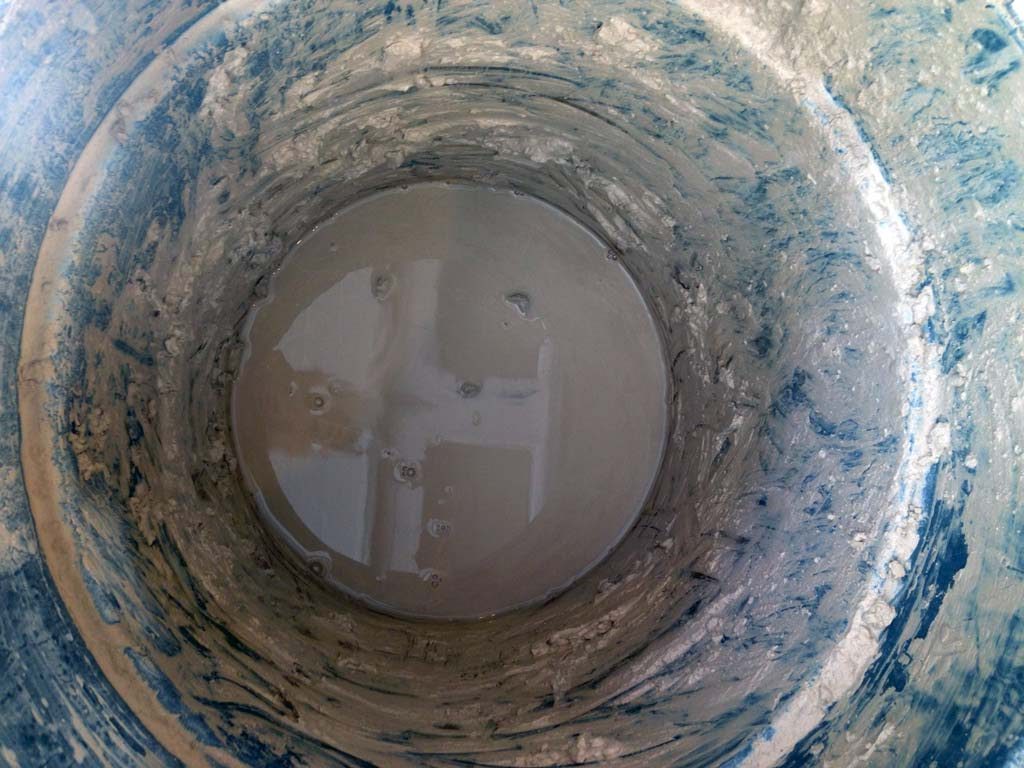
To set up your recycling system, you’ll need a bucket with a lid. I use a standard size garbage can on wheels to make it easy to move around the room and also tuck away but if you are recycling smaller amounts of clay a 5 gallon bucket might be big enough for you. Add all of your scraps of clay that are too wet or dry to work with and cover with water. Be careful not to allow tools, sponges or other studio debris to end up in the bucket, it will start to decompose and smell pretty bad. Allow these pieces to soak and break down until the clay is uniformly squishy.Clay in the Classroom: Recycling Clay | the dirt | Jenni Ward ceramic sculpture
Then scoop out the clay and lay it in an even thickness onto your prepared plaster board. The plaster will dry the clay from the bottom and the air will dry it from the top, this might take a few days depending on the weather in your area, how hot the room is, how wet the clay is and how wet the plaster board is. You also might need to flip the whole thing over to keep the drying even. You’ll have to keep checking on it to make sure it’s not getting to dry. Once the clay is at a nice working consistancy, it’s ready to be wedged and bagged up for using again. Wedging the clay is sort of like kneading bread, it will remove the air bubbles from your clay so that your work doesn’t explode in the kiln. Here is a great video about wedging your clay: Clay Wedging 101. Also, if you happen to pick up small bits of plaster in your clay, be sure to pick these out before wedging your clay, as they will explode in the kiln. Then bag up your clay in thick plastic bags and store it until your are ready to build again. Clay in the Classroom: Recycling Clay | the dirt | Jenni Ward ceramic sculpture
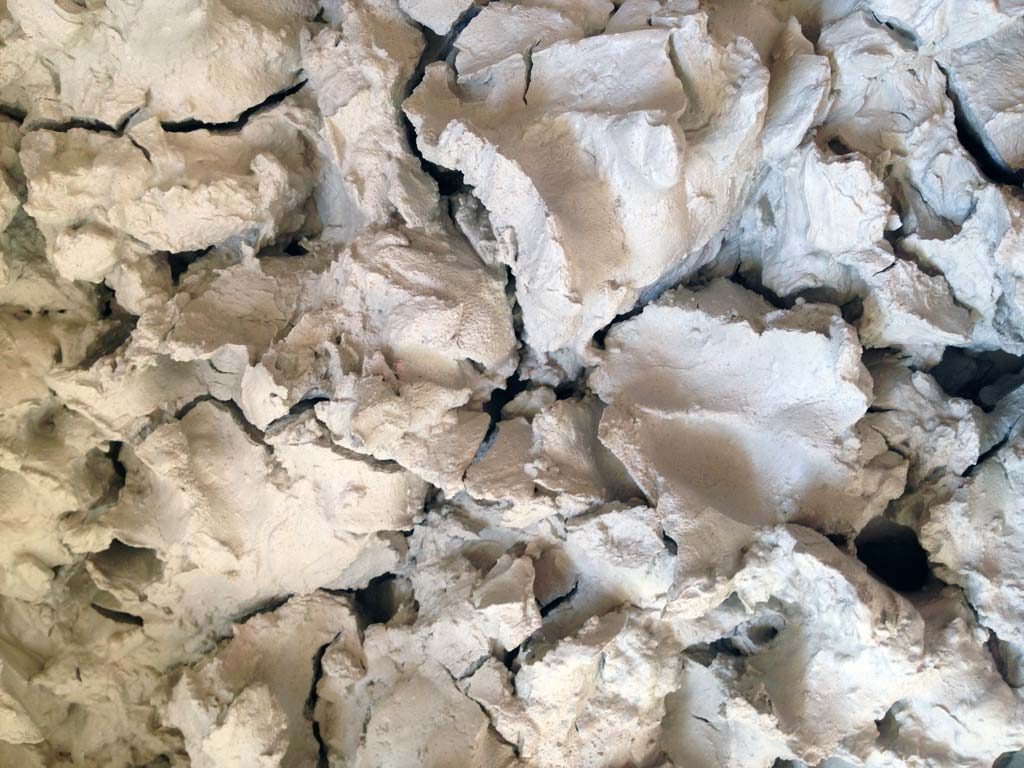
If you find your clay dried out too much on your plaster board, you can toss it back into your recycling bucket and start the process over again. Recycling clay can be a slightly laborious process but it’s definitely worth it and is a great opportunity to teach your students each step of the process and let them learn some extra credit points for helping you recycle the clay in your classroom.
Last few spots available in Summer Workshops

There are only 18 spots left in our summer workshops at the studio!

Last few spots available in Summer Workshops | the dirt | Jenni Ward ceramic sculpture


Here’s the schedule and number of spots left:
Session 1: June 6 – 10 (Ages 7+) FIVE SPOTS LEFT
Session 2: June 13 – 17 (Ages 7+) TWO SPOTS LEFT
Session 3: June 20 – 24 (Ages 9+) SIX SPOTS LEFT
Session 4: June 27 – July 1 (Ages 11+) FULL
Session 5: July 5 – 8 (Ages 7+) FULL
Session 6: July 11 – 15 (Ages 7+) FOUR SPOTS LEFT
Session 7: July 18 – 22 (Ages 9+) ONE SPOT LEFT
Session 8: July 25 – 29 (Ages 11+) FULL

Learn more…


Clay in the Classroom: Glaze Tags

Every ceramic program has their own way of making test tiles of their glazes to share with their students. Some are very elaborate systems that give you all the information you could ever need to know about a glaze but with my students in a classroom setting, just knowing what color it will be seems to be enough information. I will never forget the look on a students face when I handed him his green penguin. He just didn’t believe me that the seeming black goop in the jar would magically turn green in the kiln- surprised to say the least!
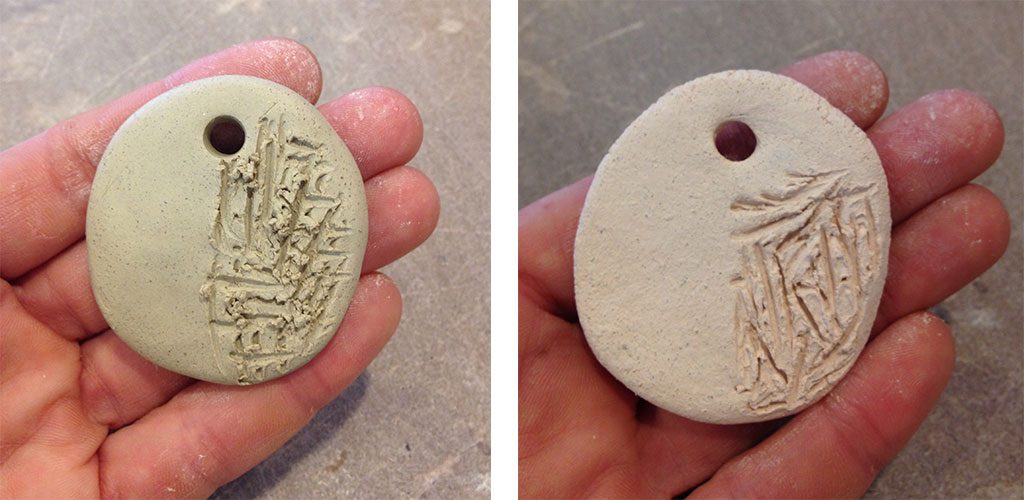
Clay in the Classroom: Glaze Tags | the dirt | Jenni Ward ceramic sculptureI like to make tags that can be attached to the jar so that as they move around the classroom, the correct tag stays with the correct jar. I use the same clay we are building with and make small pancake shapes that are about 1 1/2″ across. I texture half of the tag and put a hole in the top to eventually hang it by. If you know what glazes you are using, you might want to write the name with a sharp tool onto the back of the tag while the clay is wet. If you want to make a bunch and label them later, you can do that too. Then bisque fire them.
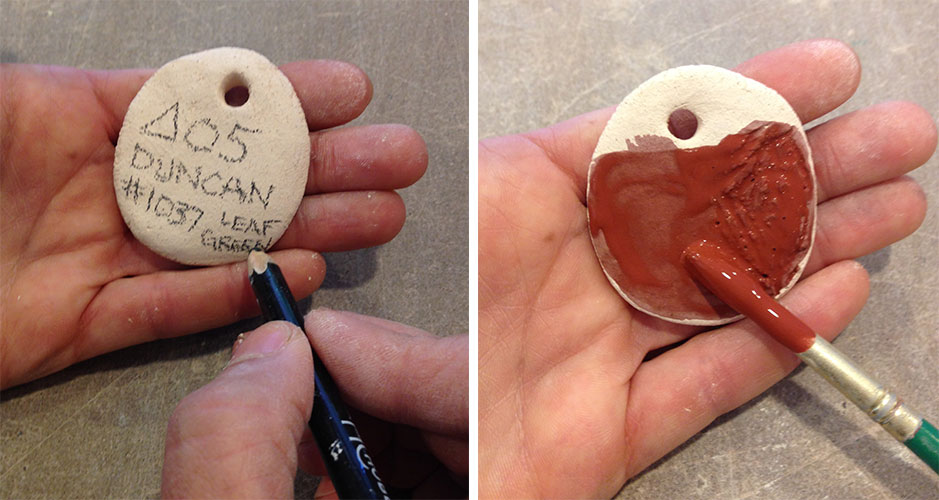
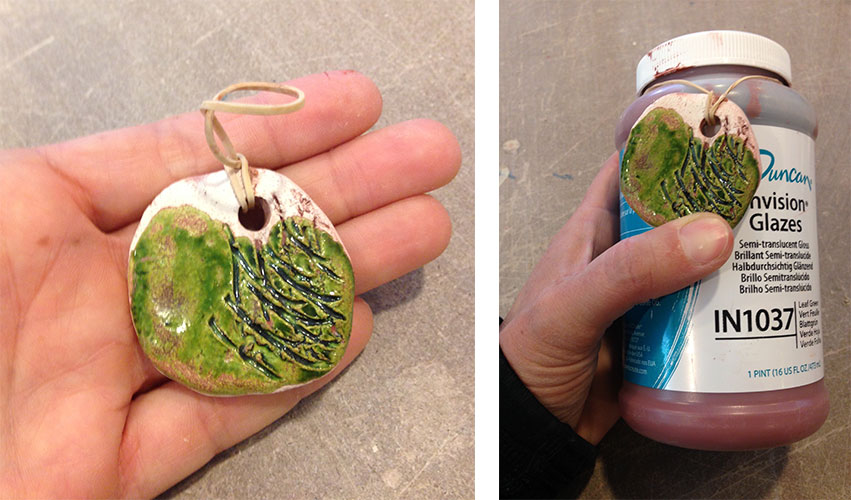
Clay in the Classroom: Glaze Tags | the dirt | Jenni Ward ceramic sculptureI label mine with an underglaze pencil made by Amaco, they write just like a pencil but are fired onto the clay permanently. I include the temperature, the brand name  and the color by name and number. Then paint on your glaze to the front of the test tag. I like to do an area with one coat, two coats and three coats so you can see how the glaze changes in translucency or richness of color. Some glazes will look very different when they pool in the textured area of the test tile too. Once they are painted, glaze fire them to the appropriate temperature for the glaze you are testing.
Clay in the Classroom: Glaze Tags | the dirt | Jenni Ward ceramic sculptureWhen you have your tiles done, loop and elastic band through the hole at the top and then around the neck of the glaze bottle. When you run out of glaze, you can easily take off the label and place it on the new bottle. My new students always have a hard time believing that this rusty red glaze will turn to leaf green with just a little help from the kiln. Happy Glazing!
Summer Classes are Filling Up!

Summer Classes are Filling Up | the dirt | Jenni Ward ceramic sculpture

Time is running out to sign up for a

Summer Sculpting Workshop!

Here’s the schedule and number of spots left:

Session 1: June 6 – 10 (Ages 7+) FIVE SPOTS LEFT
Session 2: June 13 – 17 (Ages 7+) TWO SPOTS LEFT
Session 3: June 20 – 24 (Ages 9+) SIX SPOTS LEFT
Session 4: June 27 – July 1 (Ages 11+) FULL
Session 5: July 5 – 8 (Ages 7+) FULL
Session 6: July 11 – 15 (Ages 7+) FOUR SPOTS LEFT
Session 7: July 18 – 22 (Ages 9+) SIX SPOTS LEFT
Session 8: July 25 – 29 (Ages 11+) ONE SPOT LEFT

Learn more…

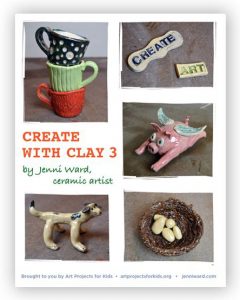
New Create with Clay PDF book

New Create with Clay PDF book | the dirt | Jenni Ward ceramic sculpture

I’ve teamed up with my friend and art teacher extraordinaire Kathy Barbro of Art Projects for Kids for Book 2 of Create with Clay!

We’re sharing five more ceramic art projects that are creative and classroom tested. If you like to work with clay, but need some new ideas with clear visual instructions, then this is the book for you.

PDF FILE INCLUDES INSTRUCTIONS FOR:
• 3D Shape People
• Pinch Pot Monster
• Mug with Mugs
• Fishie
• Textured Frame

5 STEP BY STEP PROJECTS FOR $5
ORDER YOURS TODAY!

Last Reminder: Spring Studio Sale this Saturday!

JOIN US:
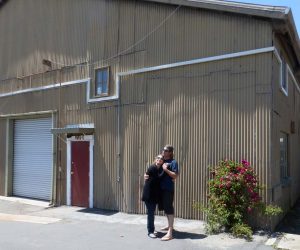
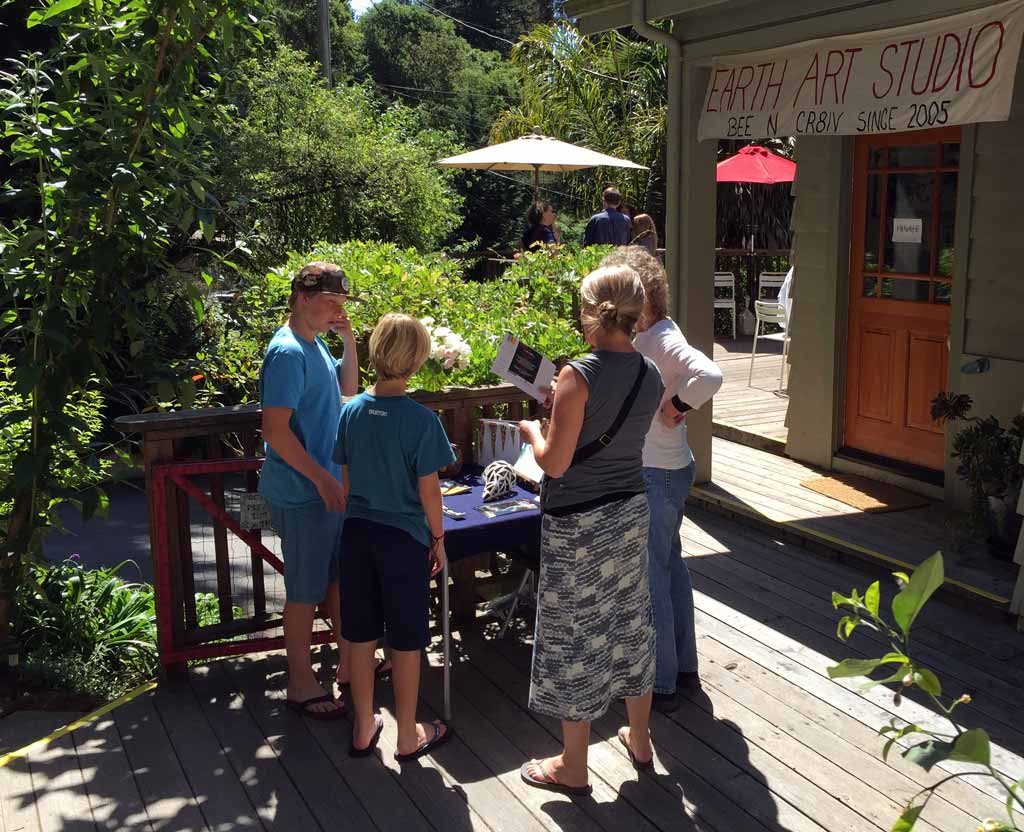
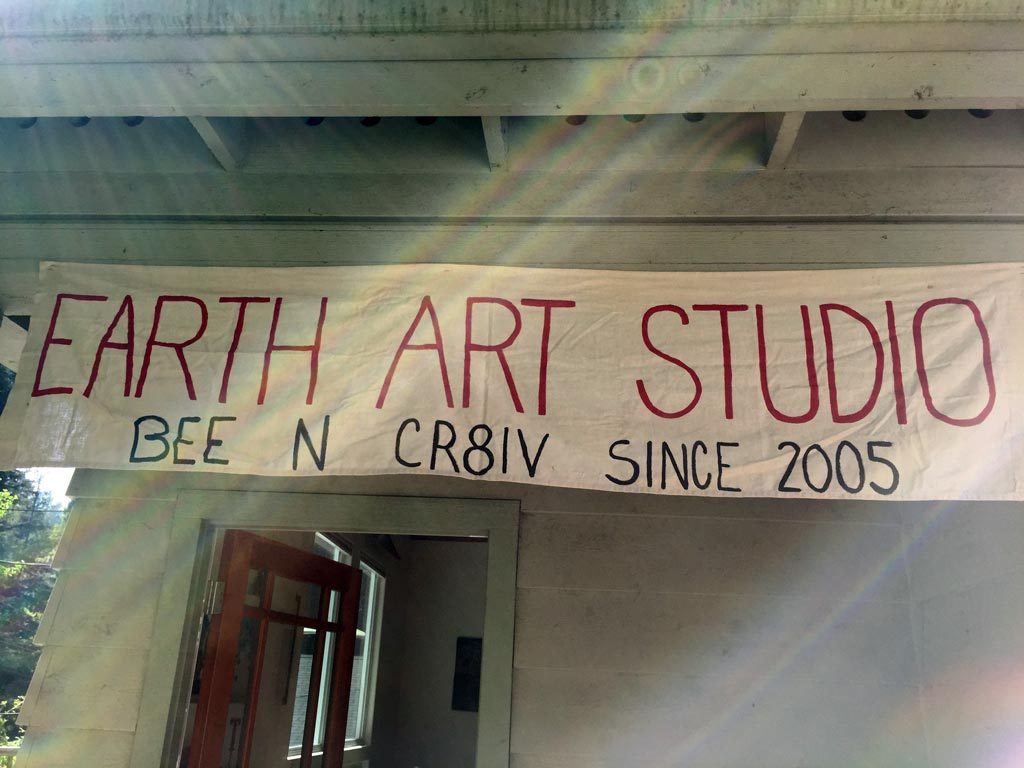
EARTH ART STUDIO | Saturday April 30th 11 – 4
767 Cathedral Dr | one mile from the Aptos PO
Looking forward to seeing you there!

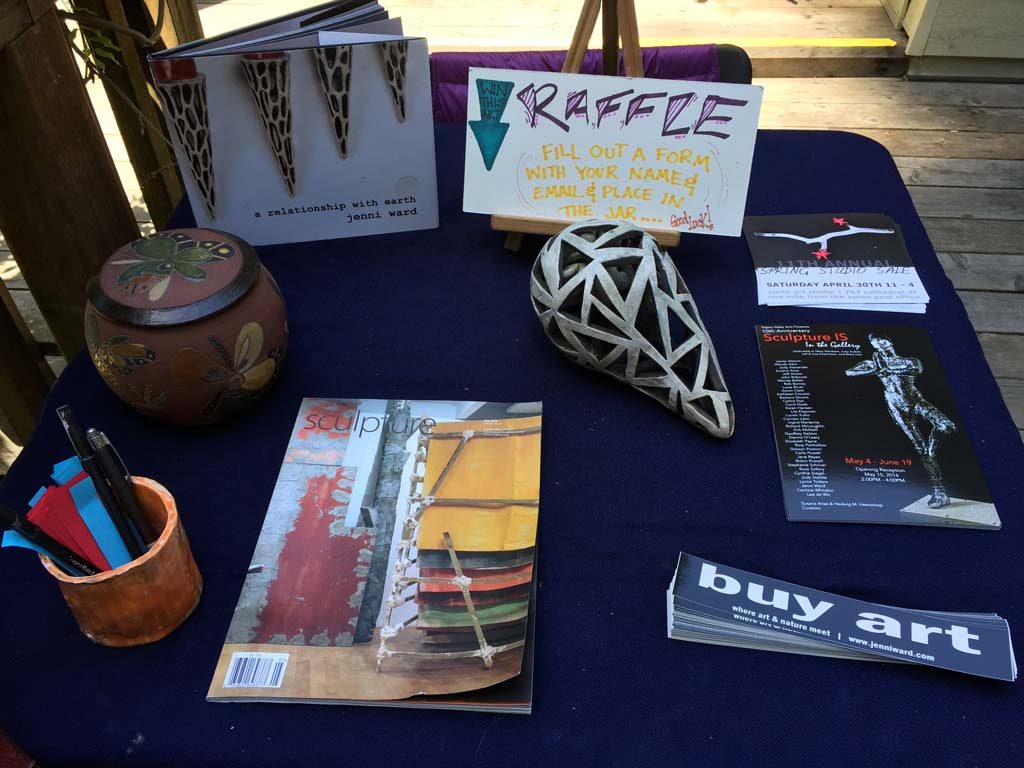
JENNI WARD’S NEW WORK & RAFFLE:
Did you miss visiting Jenni’s studio during Open Studios this past fall? No worries, new work by owner & artist Jenni Ward will on display. And we will raffle off a hardcover copy of Jenni’s first book ‘a relationship with earth’ and one small sculpture to two lucky winners!Last Reminder: Studio Sale Saturday! | the dirt | Jenni Ward ceramic sculpture

CHECK OUT THE STUDIO:
Interested in Summer Classes for kids or Adult Clay Classes for yourself? Come by and check out the studio…

EARTH ART STUDIO’S STUDENT WORK:
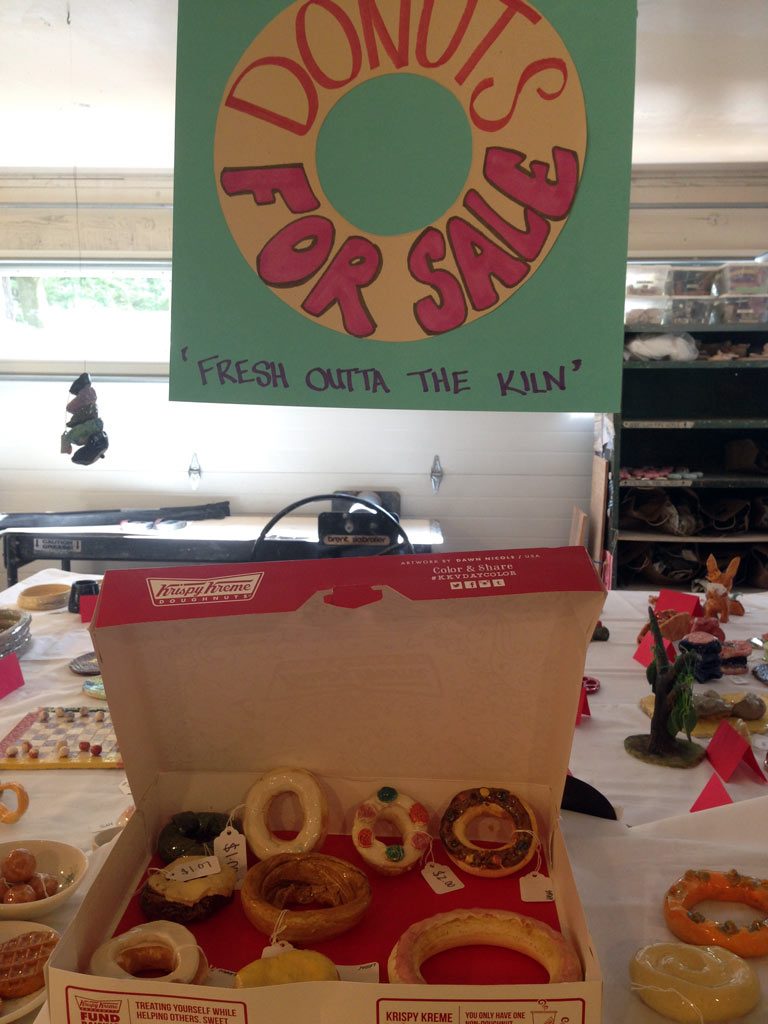
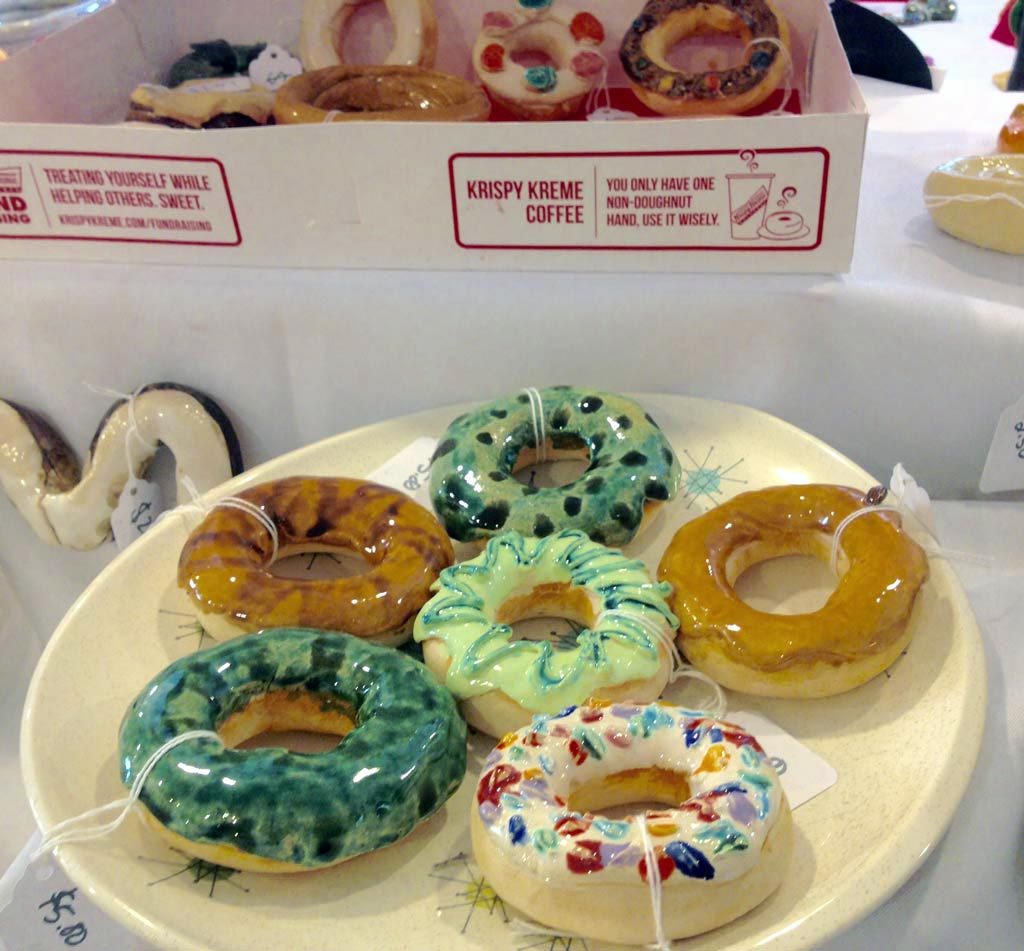
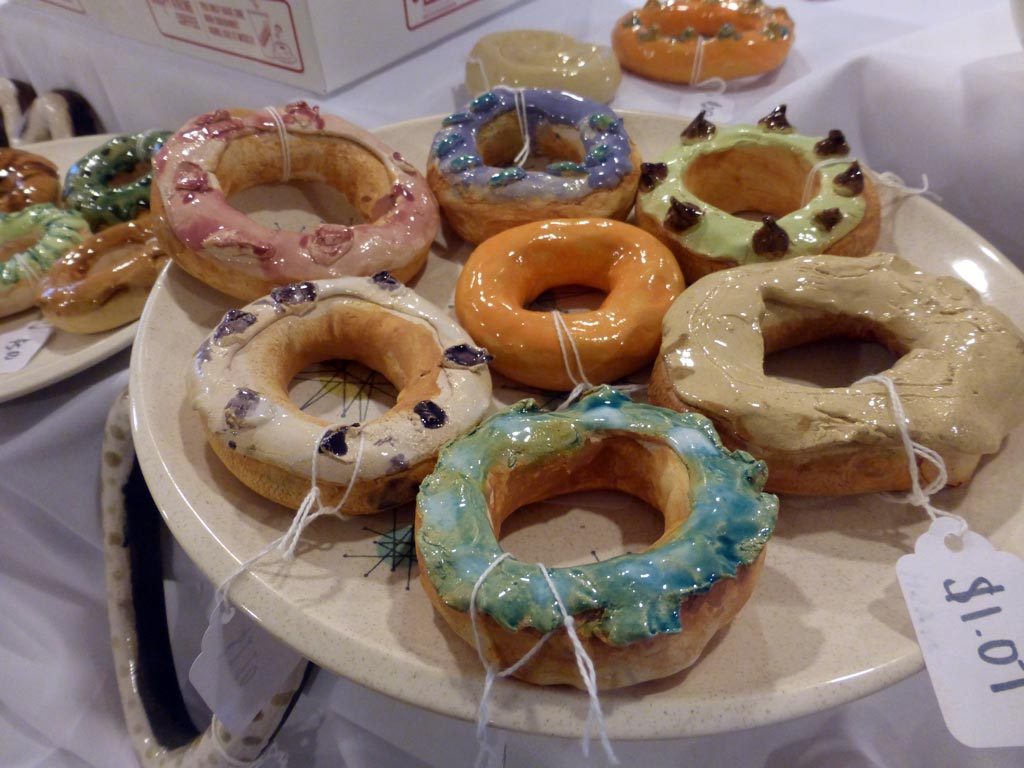
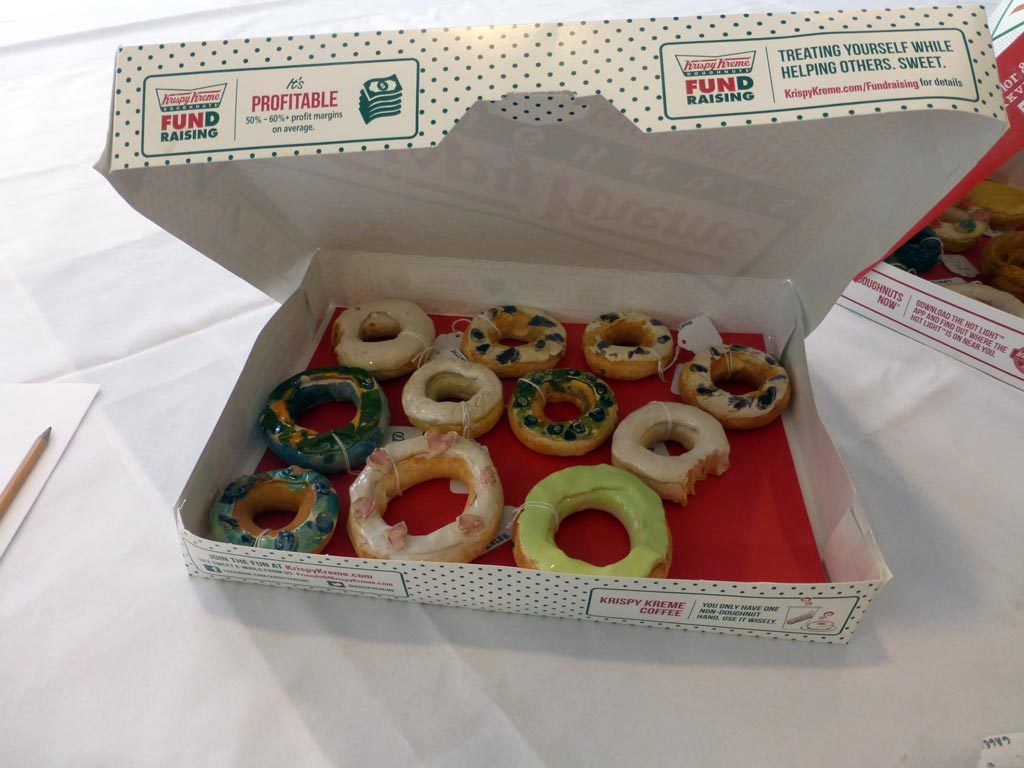
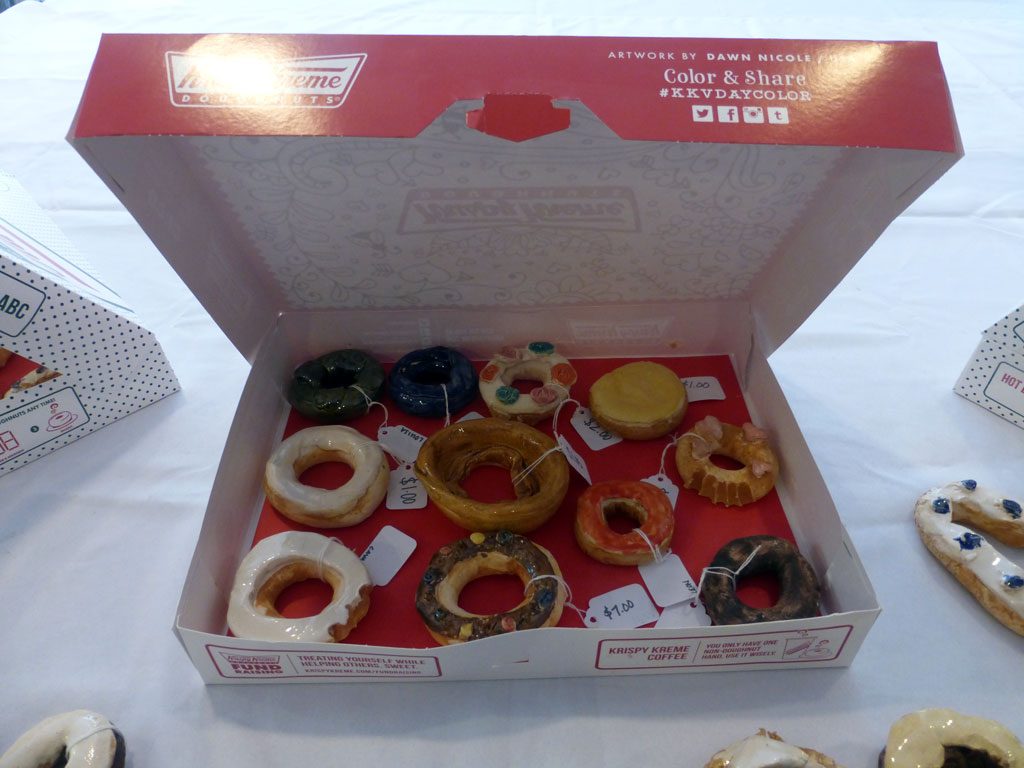
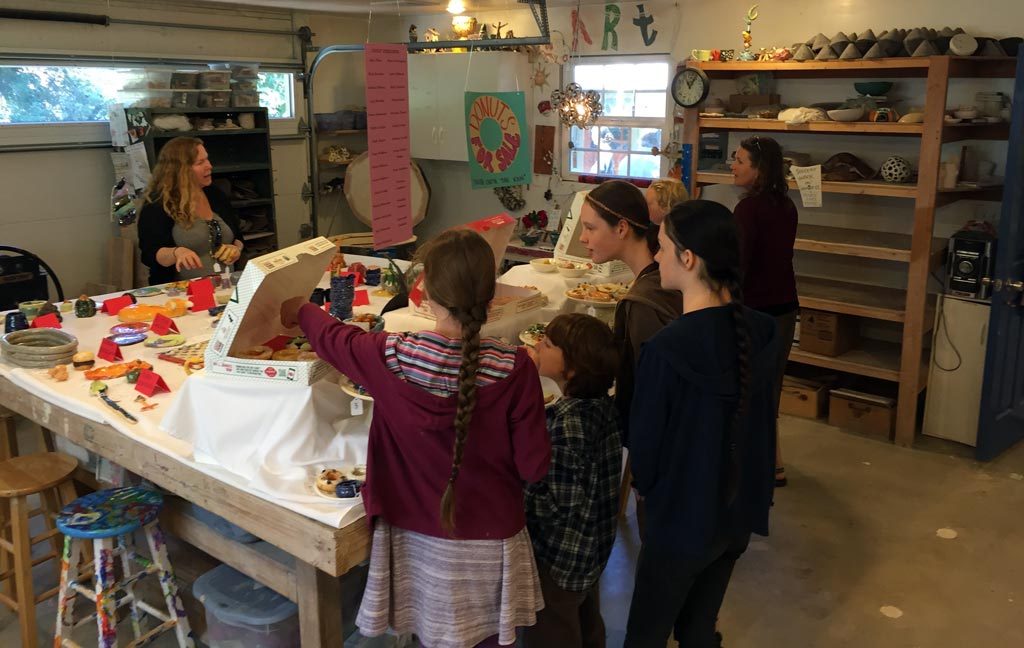
Talented students from Earth Art Studio will be displaying work for sale, with a special ‘yummy’ theme to this years group project. You can buy art from these budding artists!

BUY ART and SHARE THE LOVE:
We donate 10% of all art sales at this event to The Homeless Garden Project of Santa Cruz!

TAG THE TABLE:
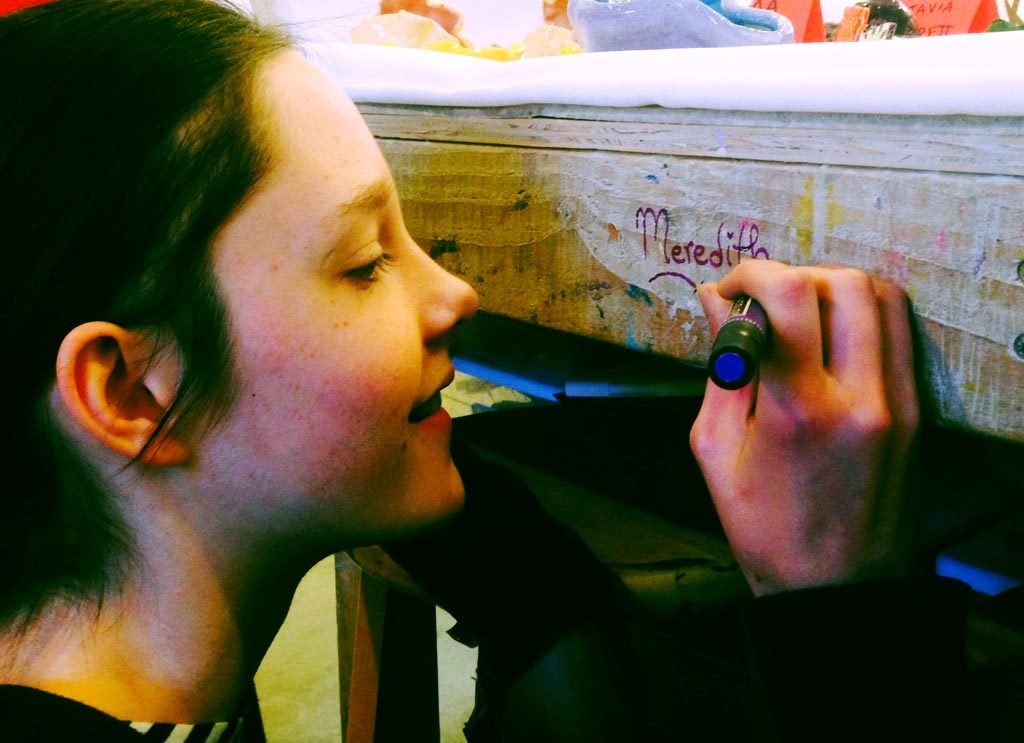
As a special event this year, we will celebrating by signing the studio table! If you’ve ever taken a class at this table, made a pinch pot or have been cr8iv here, you’ll be able to leave your mark and tag the table. Help us fill the sides with student names!

Student Work for Sale

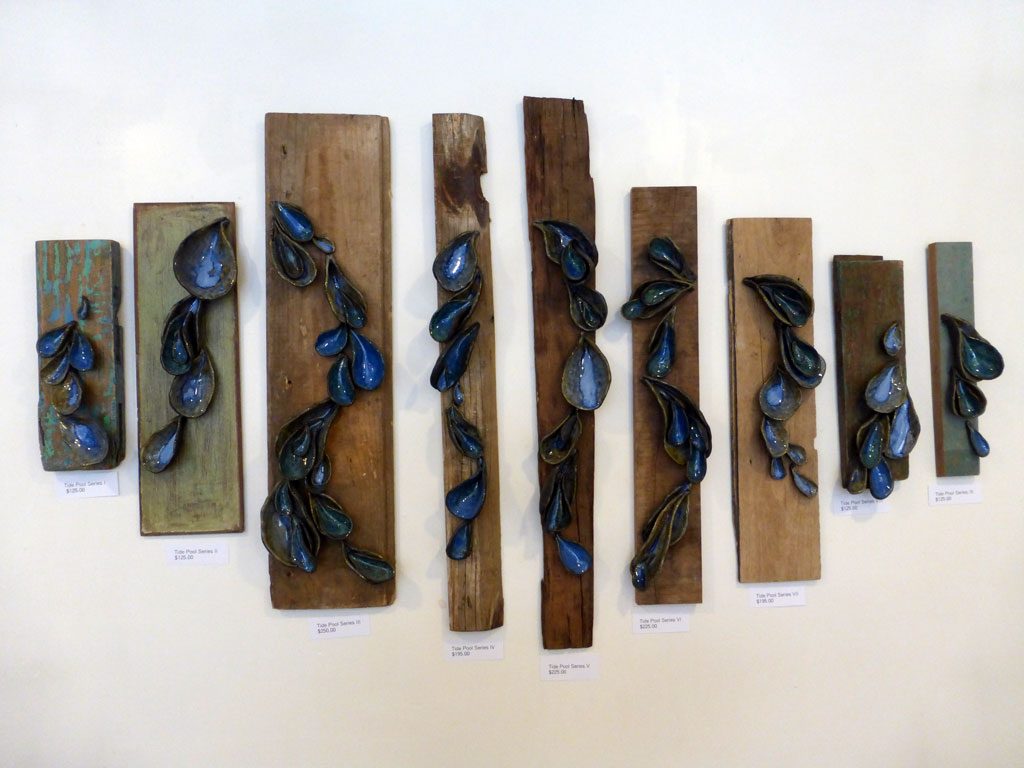
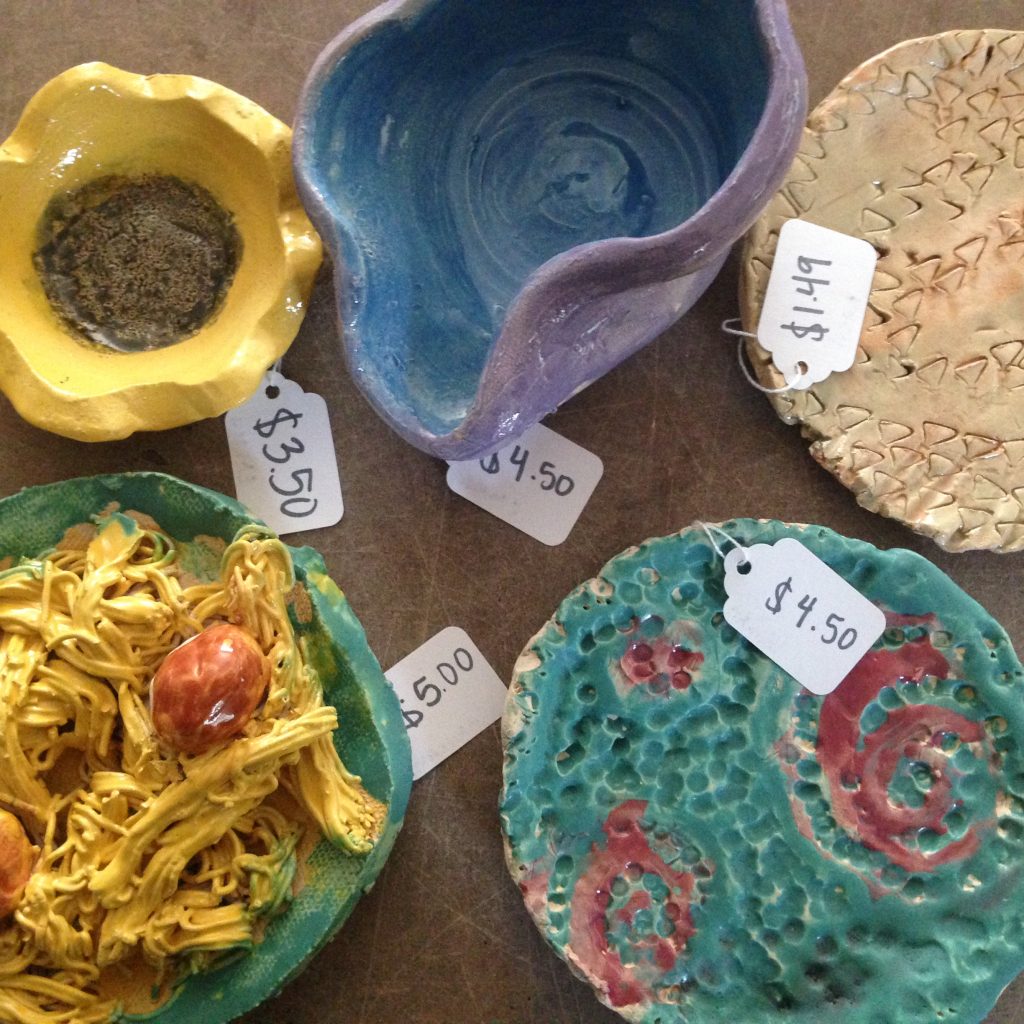
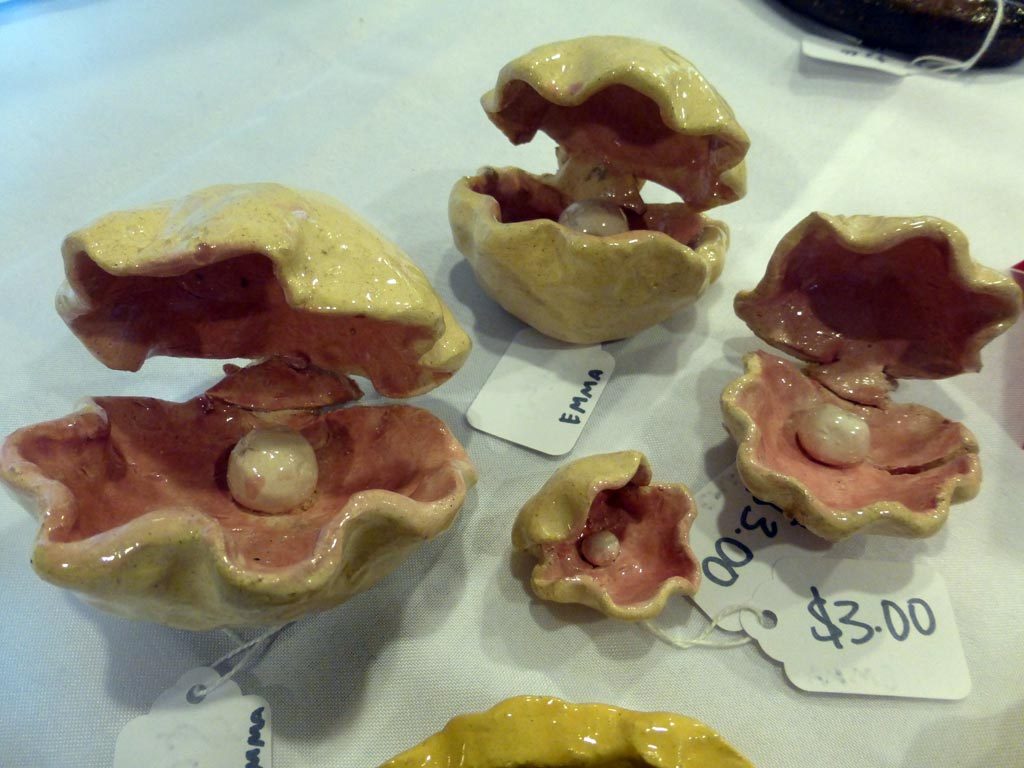
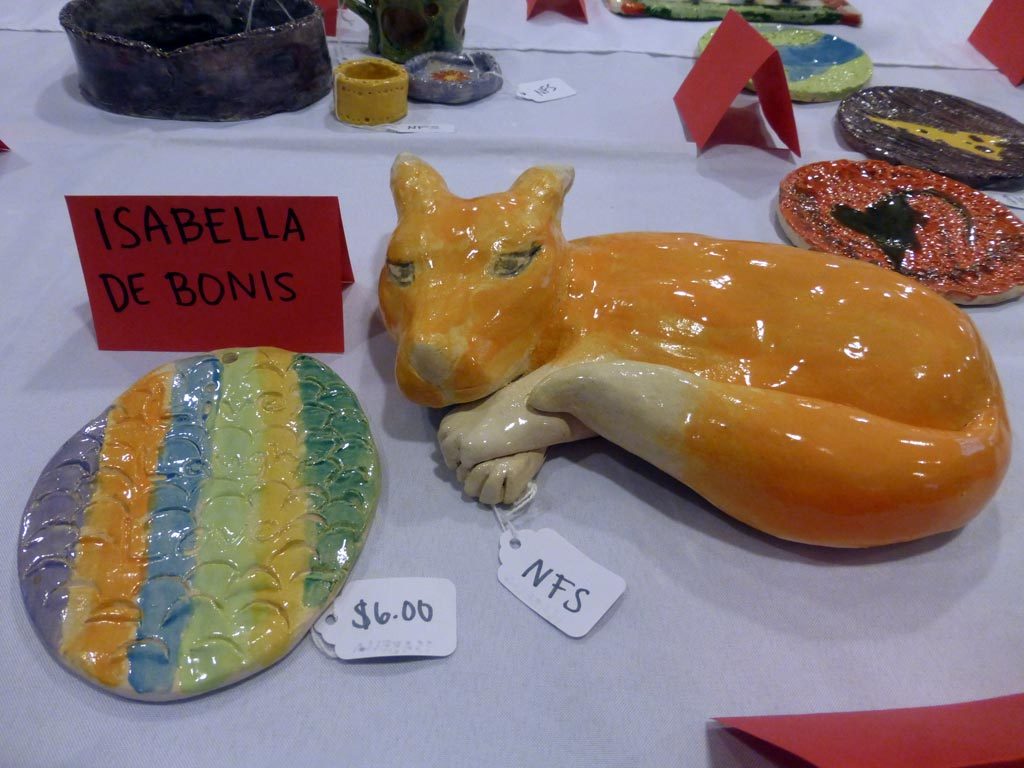
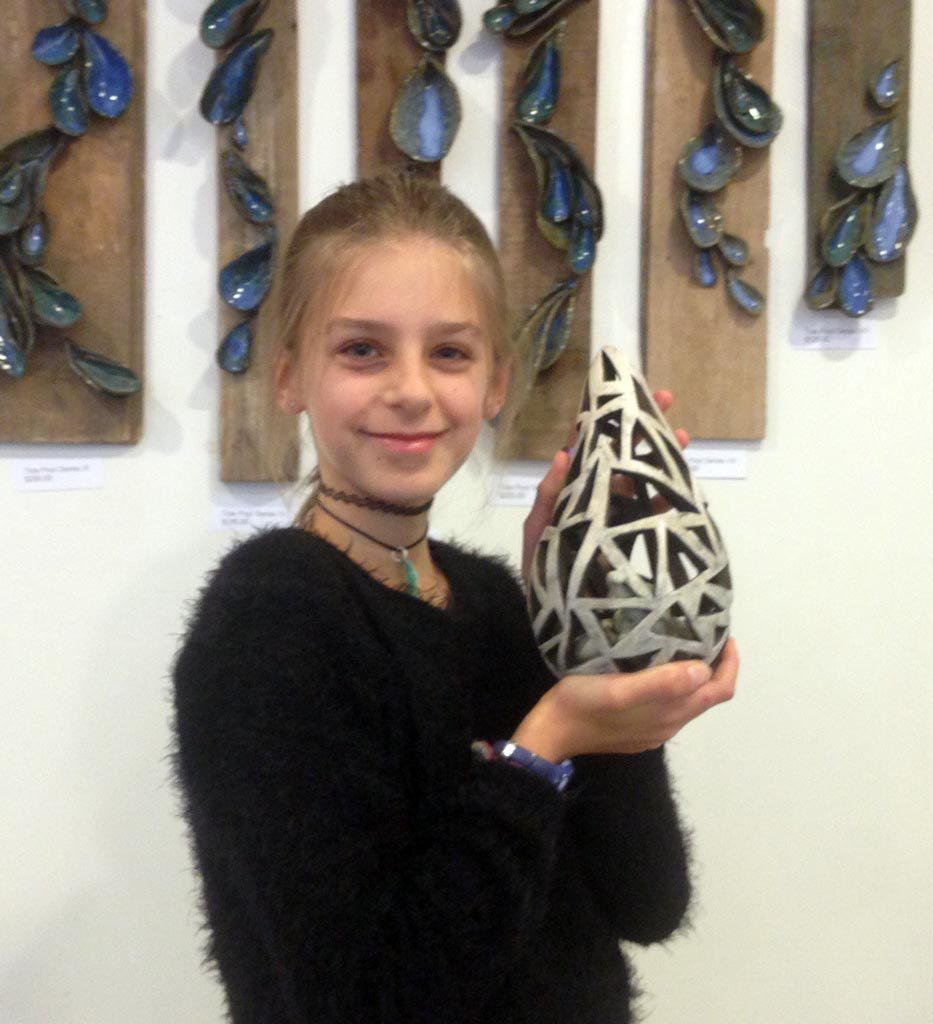
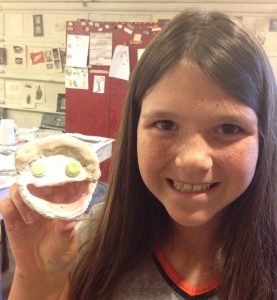
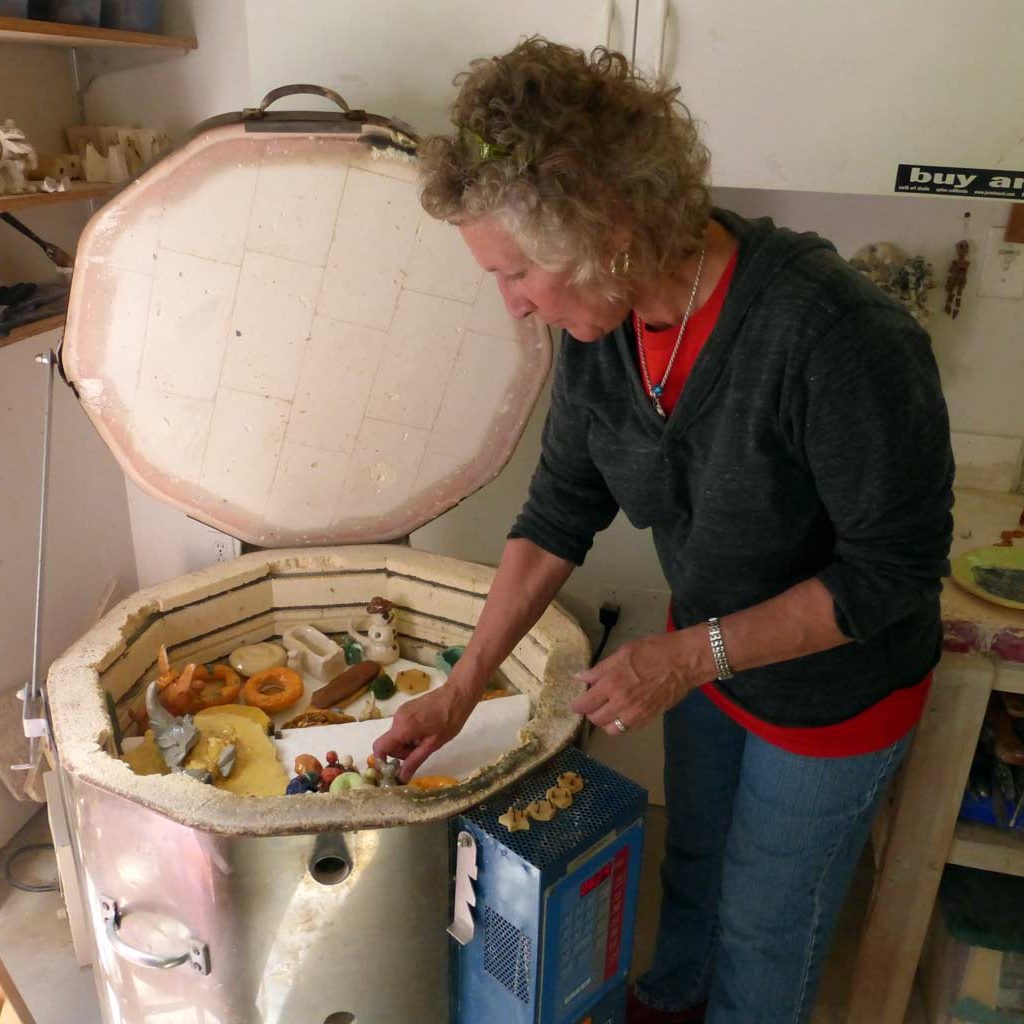
Talented students from Earth Art Studio will be displaying work for sale at this year’s Spring Studio Sale! Here are just a few things starting to come out of the kiln this week. We also have a special ‘yummy’ theme to this years group project, which I’m keeping a secret for now but you’ll definitely want to come check it out! You can buy art at very affordable prices from these budding artists and 10% of all art sales will be donated to the Homeless Garden Project.
Click the link to see the creative projects we’ve done with them in the past!
Student Work for Sale | the dirt | Jenni Ward ceramic sculpture

Join Us
Saturday April 30th 11 – 4
earth art studio
767 Cathedral Dr Aptos
one mile from the Aptos PO