
If your clay gets to dried out from over working it or it gets too wet and mushy to build with, you don’t need to throw it in the bin, it can all be recycled so that every bit of clay you buy can be used. Here’s how I do it in my classroom…
First, you’ll need a plaster board. If you’re recycling small amounts of clay, you could use some scrap drywall pieces with the paper removed from one side of it, if you’re recycling larger amounts, you’re going to want to make a thick plaster board. I have a board that is about 3’x 2′ with wood edging around the outside of it that is about 3″ high. You could use an old shallow drawer if you’ve got one.
Next, mix up your plaster per the directions on the bag and pour it into your frame, make sure the top is as even as possible and tap the sides of it to release any air bubbles that may have gotten trapped in the plaster. Let the plaster set up and harden, give it a few days to dry out before recycling any clay on it.
To set up your recycling system, you’ll need a bucket with a lid. I use a standard size garbage can on wheels to make it easy to move around the room and also tuck away but if you are recycling smaller amounts of clay a 5 gallon bucket might be big enough for you. Add all of your scraps of clay that are too wet or dry to work with and cover with water. Be careful not to allow tools, sponges or other studio debris to end up in the bucket, it will start to decompose and smell pretty bad. Allow these pieces to soak and break down until the clay is uniformly squishy.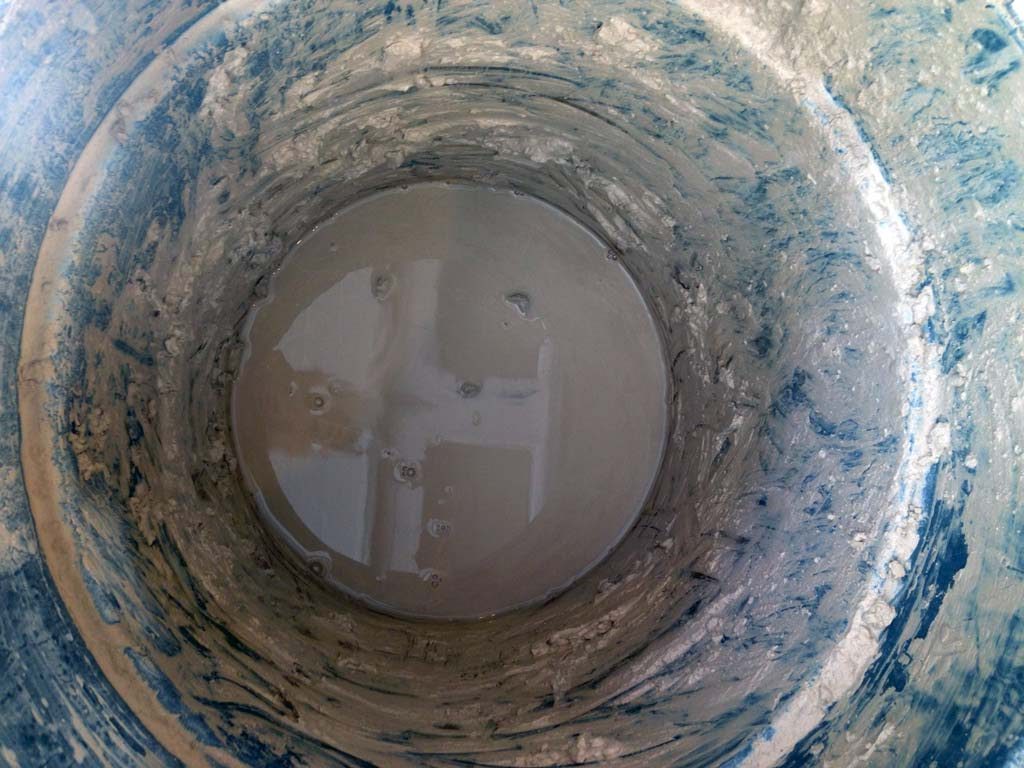
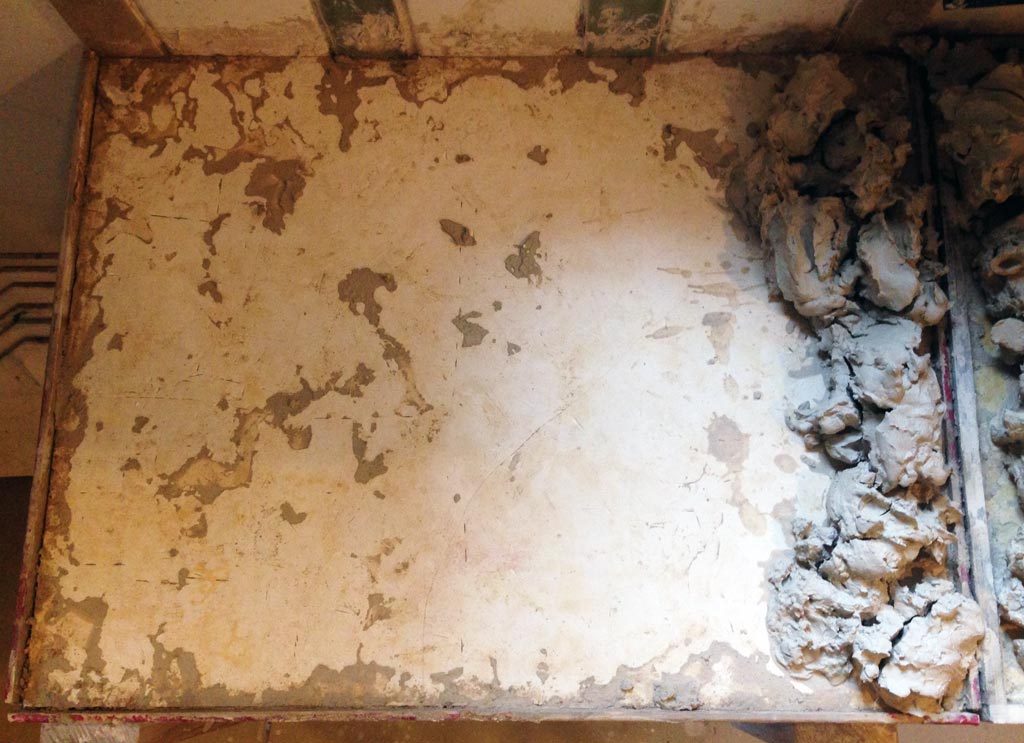
Then scoop out the clay and lay it in an even thickness onto your prepared plaster board. The plaster will dry the clay from the bottom and the air will dry it from the top, this might take a few days depending on the weather in your area, how hot the room is, how wet the clay is and how wet the plaster board is. You also might need to flip the whole thing over to keep the drying even. You’ll have to keep checking on it to make sure it’s not getting to dry. Once the clay is at a nice working consistancy, it’s ready to be wedged and bagged up for using again. Wedging the clay is sort of like kneading bread, it will remove the air bubbles from your clay so that your work doesn’t explode in the kiln. Here is a great video about wedging your clay: Clay Wedging 101. Also, if you happen to pick up small bits of plaster in your clay, be sure to pick these out before wedging your clay, as they will explode in the kiln. Then bag up your clay in thick plastic bags and store it until your are ready to build again. 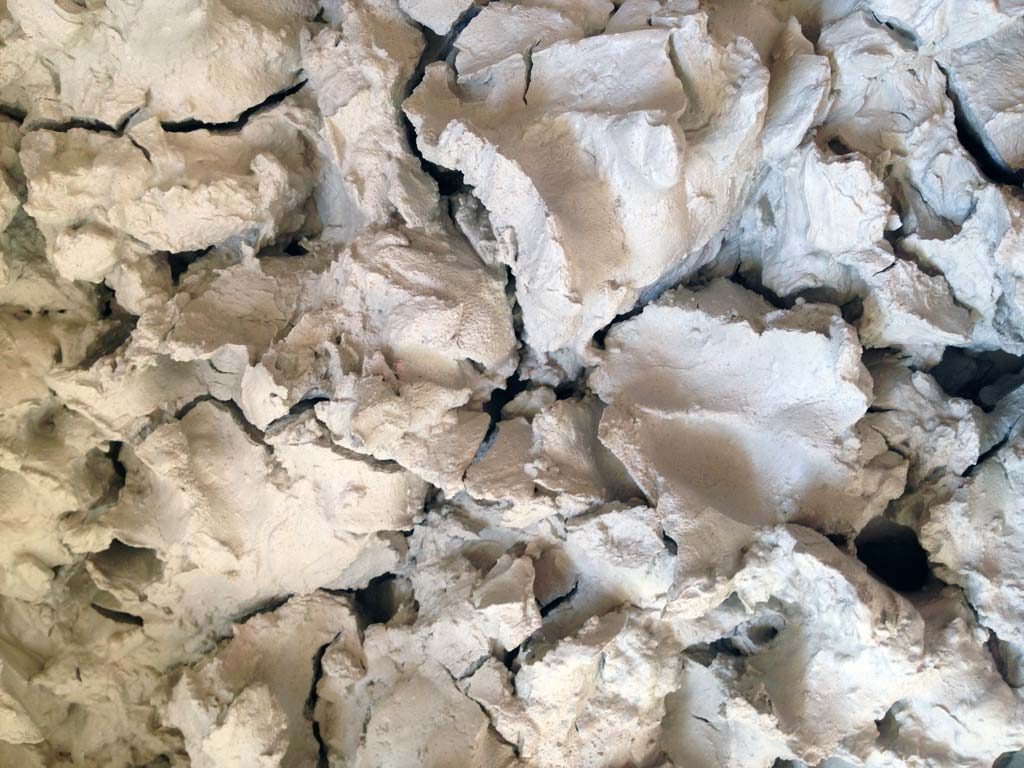
If you find your clay dried out too much on your plaster board, you can toss it back into your recycling bucket and start the process over again. Recycling clay can be a slightly laborious process but it’s definitely worth it and is a great opportunity to teach your students each step of the process and let them learn some extra credit points for helping you recycle the clay in your classroom.