 Thanks so much to all of you who follow me on social media, come to events and ask about what’s going on in my art world, I love being connected to you all! But, if that’s the only way we keep in touch, it’s likely that you’re actually missing out on some stuff…
The best way to solve that problem is to join the mailing list! I only send one email per month, so I promise not to overload your inbox! All 12 emails per year are filled with photos and info all about my art, events and classes going on at the studio. Opening this once a month email is the best way to find out about everything going on in my art world. If you find that you want more info, more often from me, you can always adjust your settings to receive a weekly email from me with all the weeks blog posts from The Dirt.
Interested in classes at the studio? The next email in January will have the upcoming winter/spring schedule!
Interested in buying art from the online store? Upcoming emails will have free shipping codes and let you know when new work has been launched.
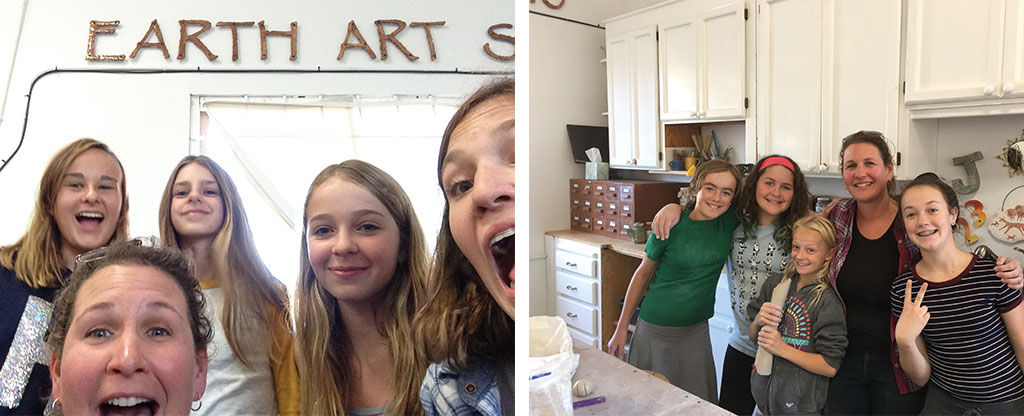
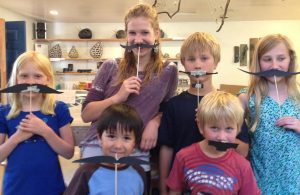
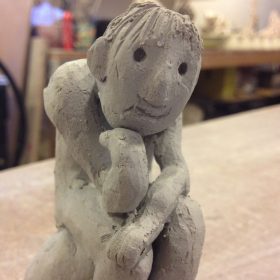
 Earth Art Studio students rocked at the Santa Cruz County Fair this year! We racked up the ribbons like champs with eight 1st place, twelve 2nd place, fifteen 3rd place and six Honorable Mentions in the sculpture and ceramics divisions of the youth Fine Arts Department! Amazing talent abounds with these little artists!