 I spend a lot of time sharing new work, events and ideas with you, but I want to take a moment to share my gratitude. This year Open Studios was unbelievable. From the masses of people the first weekend to braving the rain the second weekend, it was really an incredible year. Thank you, thank you, thank you to ALL of the patrons, students, friends, family and fellow artists who came to the studio to see my studio, who bought art and who brought me gifts and good wishes. I can’t do this event without you!
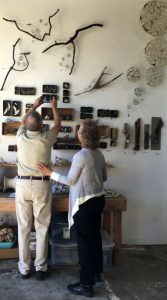
If you came to the studio on the first weekend, you probably met my parents who flew out from the east coast just to help me with the event. The shopped for me, set up art, cleaned, put up signs and worked both days of the event all day long. I overheard someone ask my mom is she had ever worried about me being an artist and the answer was ‘Never!’ Can’t get more supportive than that- thanks mom & dad!
You probably also met my amazing husband who despite being a just a week past a minor surgery and having to get up early to go to his real job the next day, was at the studio all day greeting you as you came in on sunny days and on the second weekend was running around fixing signs in the rain. His unbelievable support for my art and business is really what makes it all happen and I’m so grateful.
with much gratitude for all of you,
-j


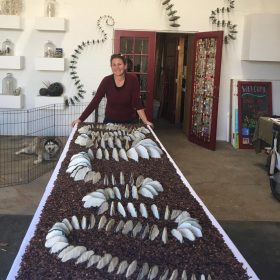 Last weekend of Open Studios was so fantastic! Thank you to everyone who came out to support the arts! I loved seeing old and new faces visiting me and exploring the new studio space. And pretty much everyone agreed that the parking is a lot better at the new space- if you’ve been to my old studio, you know what I mean.