 Some of you know that I’ve spent quite a bit of time in post-earthquake Haiti. I’ve collaborated with artists there, brought supplies, like books, solar lights, laptops and art materials to kids in orphanages and schools and I also helped raise funds to purchase 60 goats for a rural community’s livestock program. I have strong friendships from these projects and a deep admiration for those who are still there helping make the country a better place.
Locally, I’ve partnered with the Homeless Garden Project and local schools to help give art supplies and create small community projects that beautify a space or give someone an experience they might not otherwise have. I believe that art has the power to create change and it is my obligation to share my creative talent with others. You can read more about my philanthropic projects here.
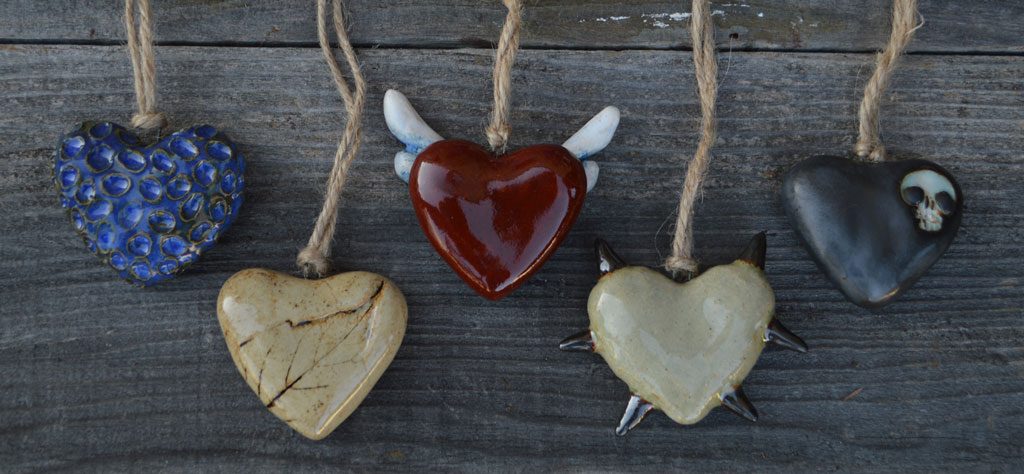
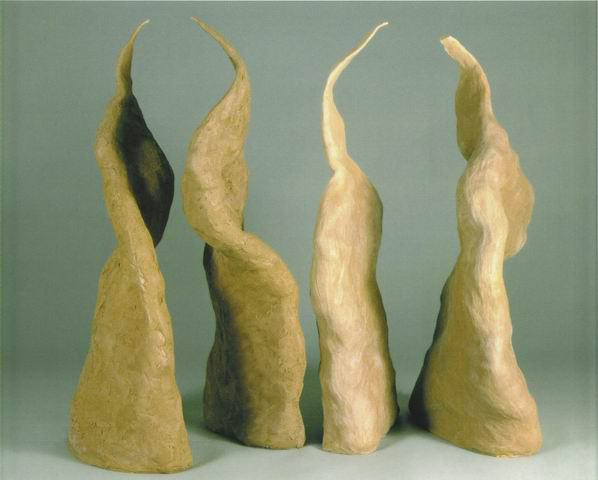
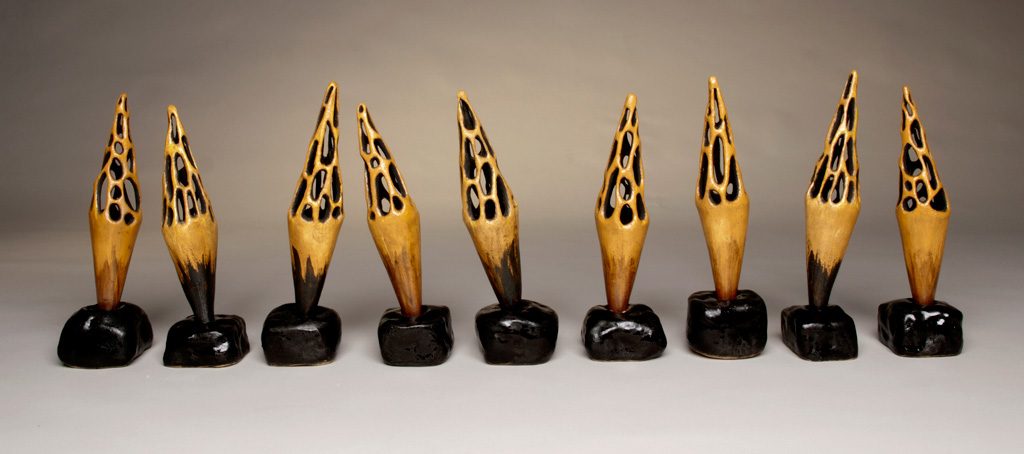
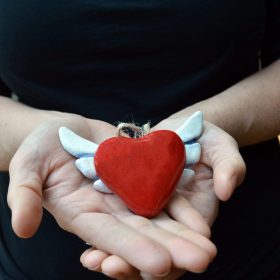
A lot of the way that I’ve made these projects happen is through the sale of my ceramic Art Hearts. These sweet little hearts are fun for me to make and give me a break from the seriousness of my sculptures and installations. They are loved by everyone who receives one and each sale makes it possible for me make projects like these happen.
So if you believe in giving on Giving Tuesday, please consider purchasing an Art Heart or two in my online shop or making a donation to your favorite non-profit. If you want to donate to a Haitian organization, I can recommend Haiti Communitere, Ti Kay and Keep Winter’s School Open without hesitation- all of your donations will go directly to support the Haitian communities these groups serve.
Thanks for sharing the love this holiday season!