
These pieces have literally been years in the making, but I think I’m finally rounding a corner with them and wanted to share my progress. I had some success with my initial resin pours but still had a few things to tweak. You’ll notice that there’s a lot of micro bubbles in the resin, I found out that’s due to it curing too cold and possibly some air escaping from the pores of the ceramic parts. The edges of the molds aren’t as even as I’d hoped since the silicone molds had squished a bit in shipping, so I need to come up with a better frame solution. I also knew that my first experiments with led lights were really exciting and I needed to pursue that further even if it meant putting on my novice electricians hat. Some steps forward and some steps sideways, more problems to solve, and way more parts to make.
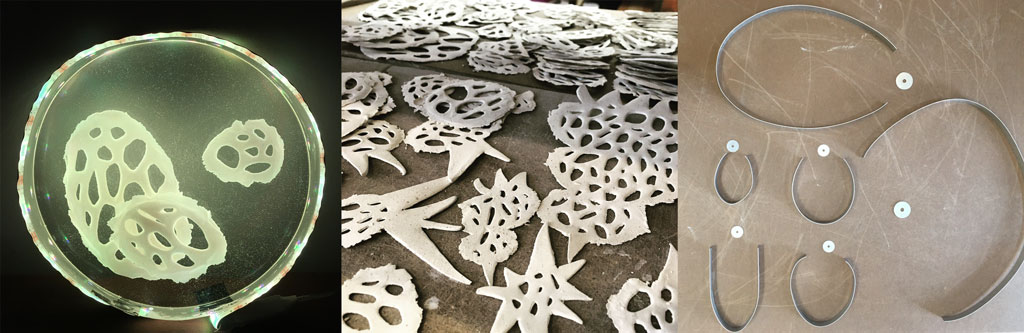
I decided to create stainless steel frames and pour directly into them so that I didn’t need to pop them out of a mold later. I wanted these frames to be versatile for both wall hanging and as suspended pieces, so I added a fender washer as the hanger to create a modern, industrial look. A metal fabricator neighbor welded them together for me and then I started working on the lighting components.

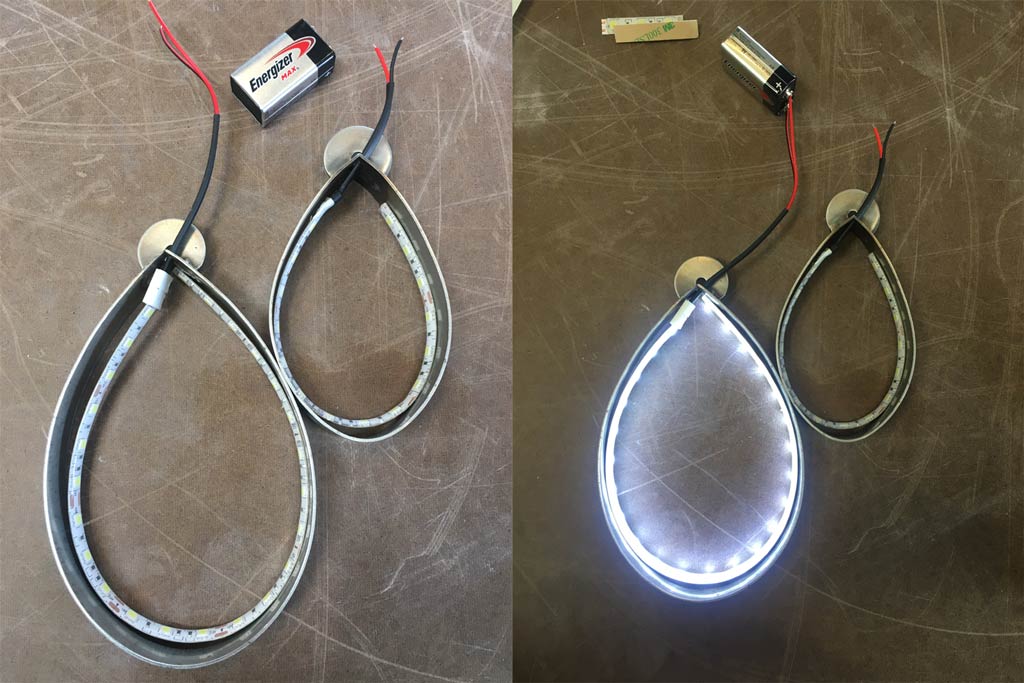
I’ve learned way more than I ever wanted to about led lighting, but in the end, I found that getting some waterproof strip lighting, a few connectors and being creative, I could get the frames lit on the insides and eventually embedded in the resin. I had small holes drilled in the sides of the frames for the wires to exit from which will ultimately connect to a power source, which for now is 9v battery to make sure that my connections actually work.
I’m ~almost~ ready to start pouring my (fingers crossed) first batch of keepers. My next steps are to coat the ceramic parts in a thin layer of resin, to seal them from leaking any air bubbles. To waterproof the end connections of my led lights and adhere them in place to the inner edges of the frames. And then I need to set everything up in a warm, dust free area to start the pouring, layering and curing of the resin, one eighth of an inch at a time. Step by step… stay tuned!