
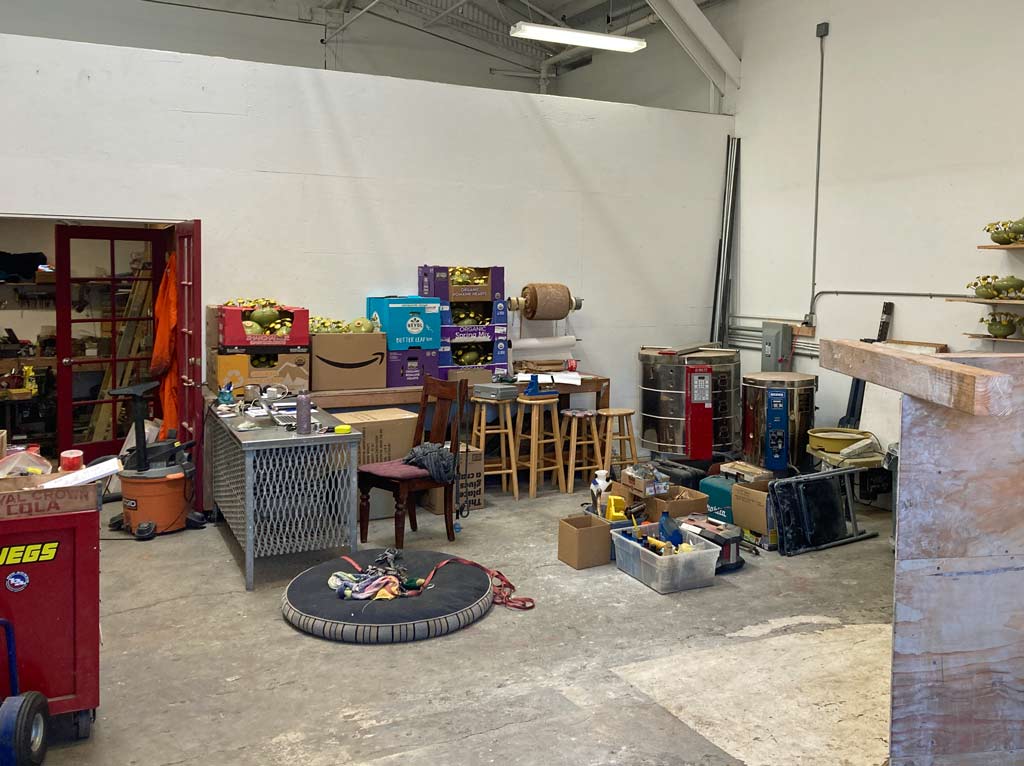
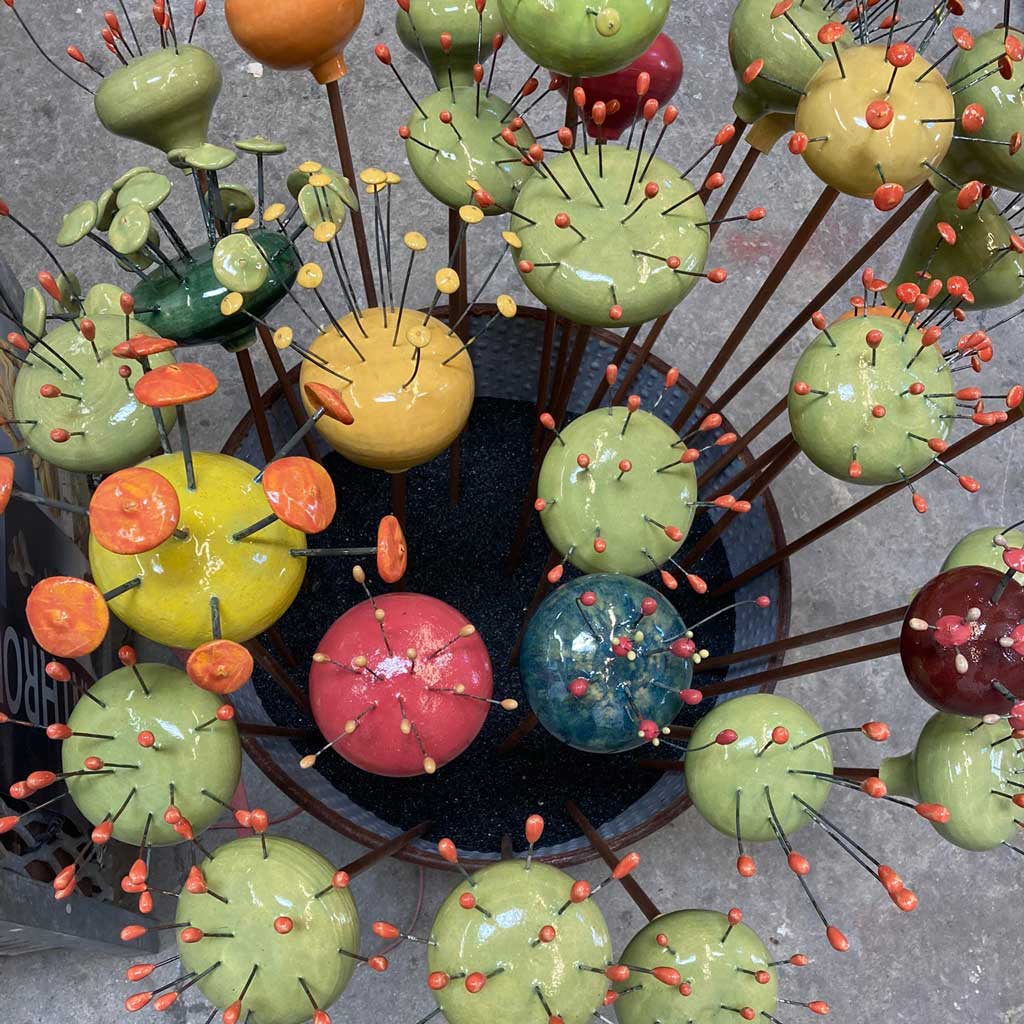
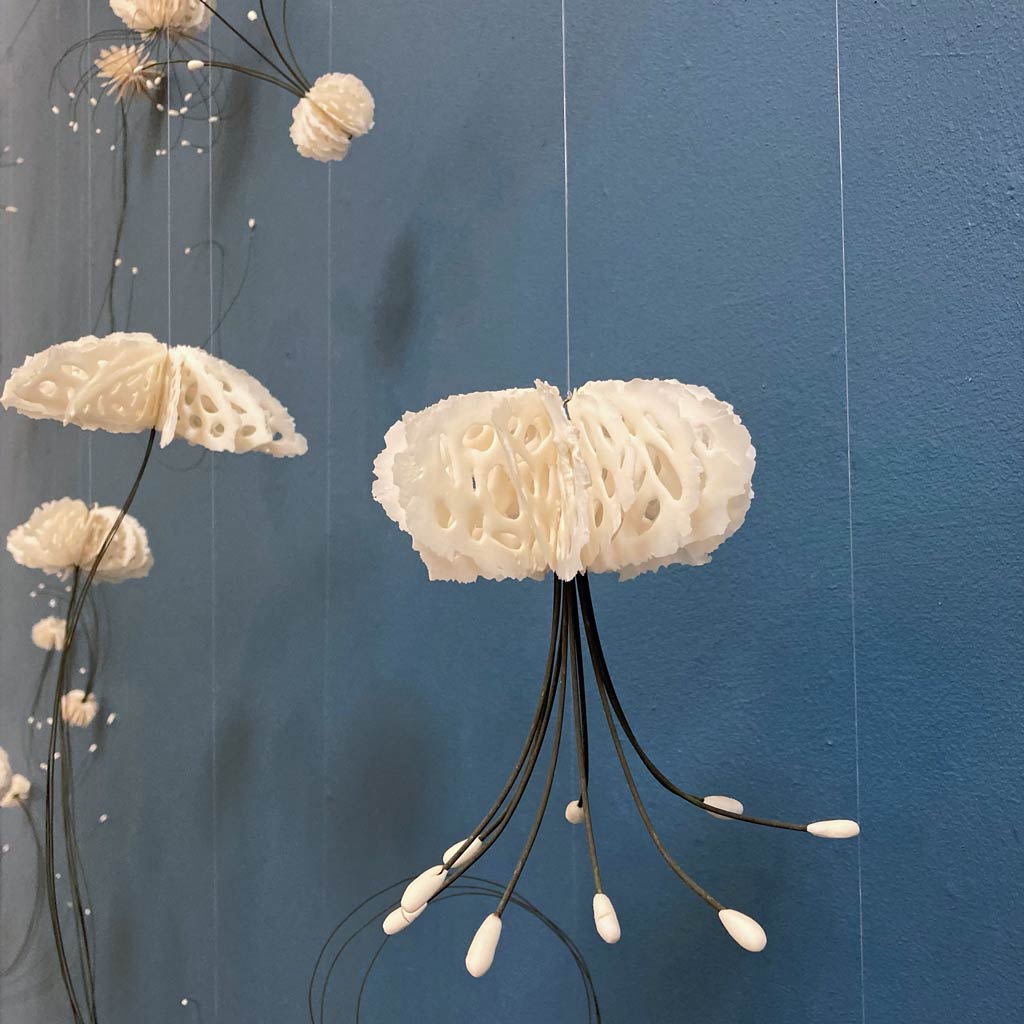
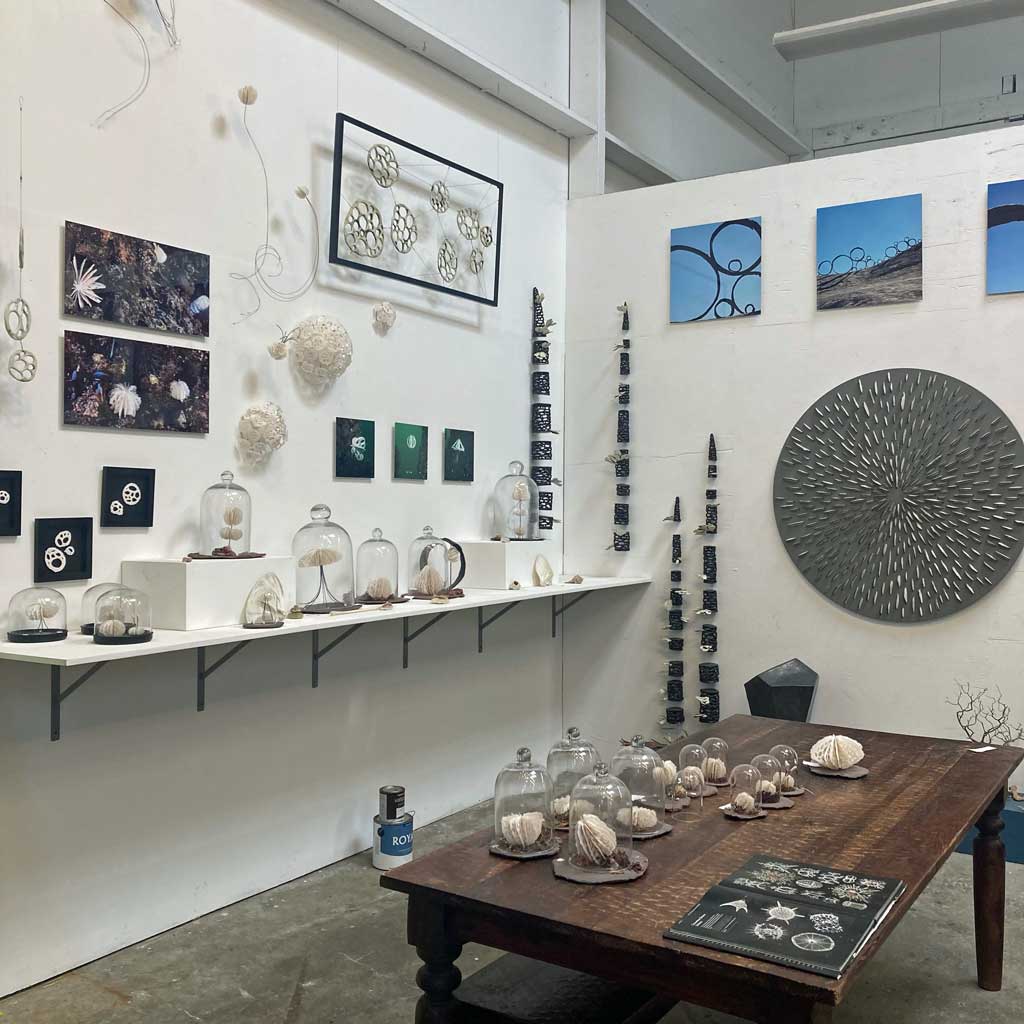
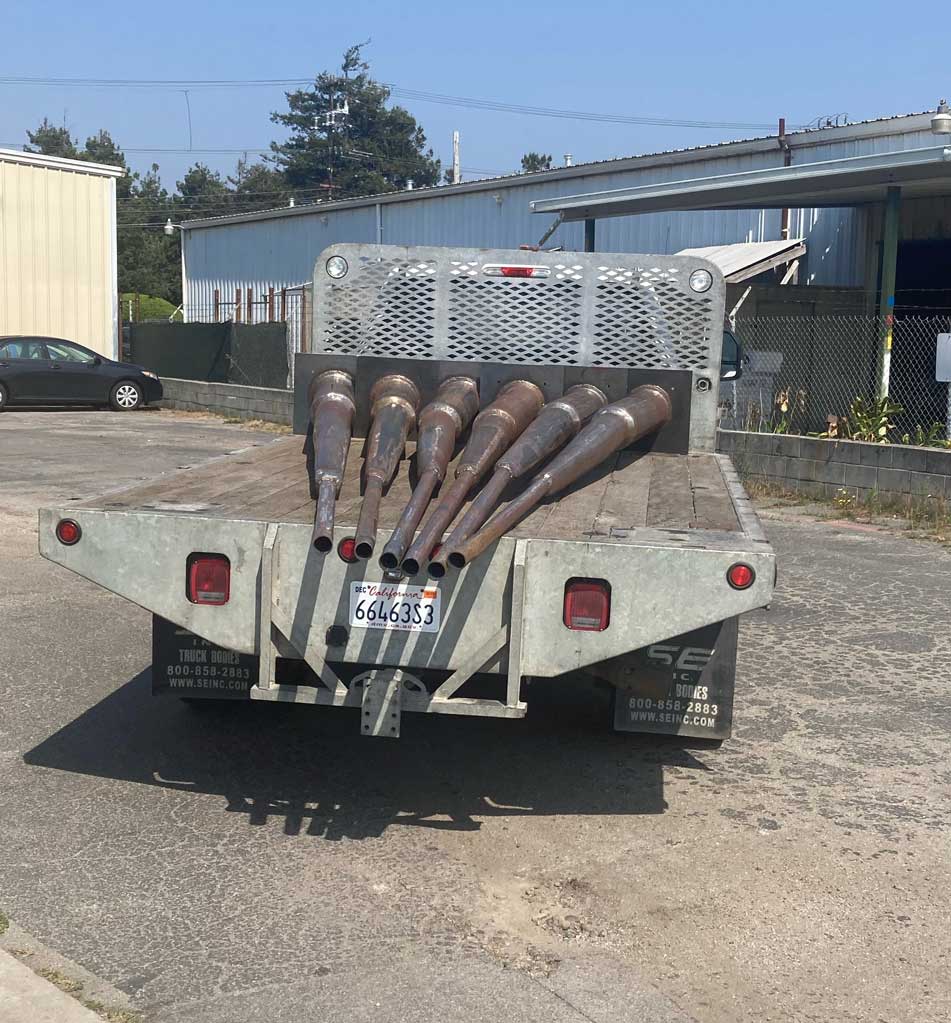
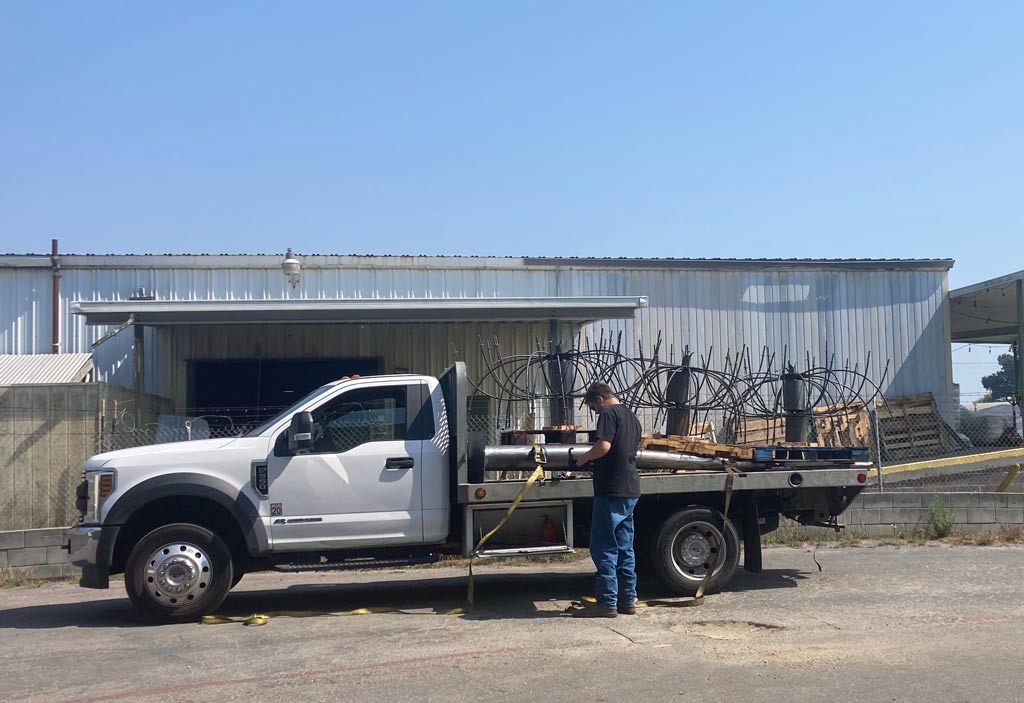
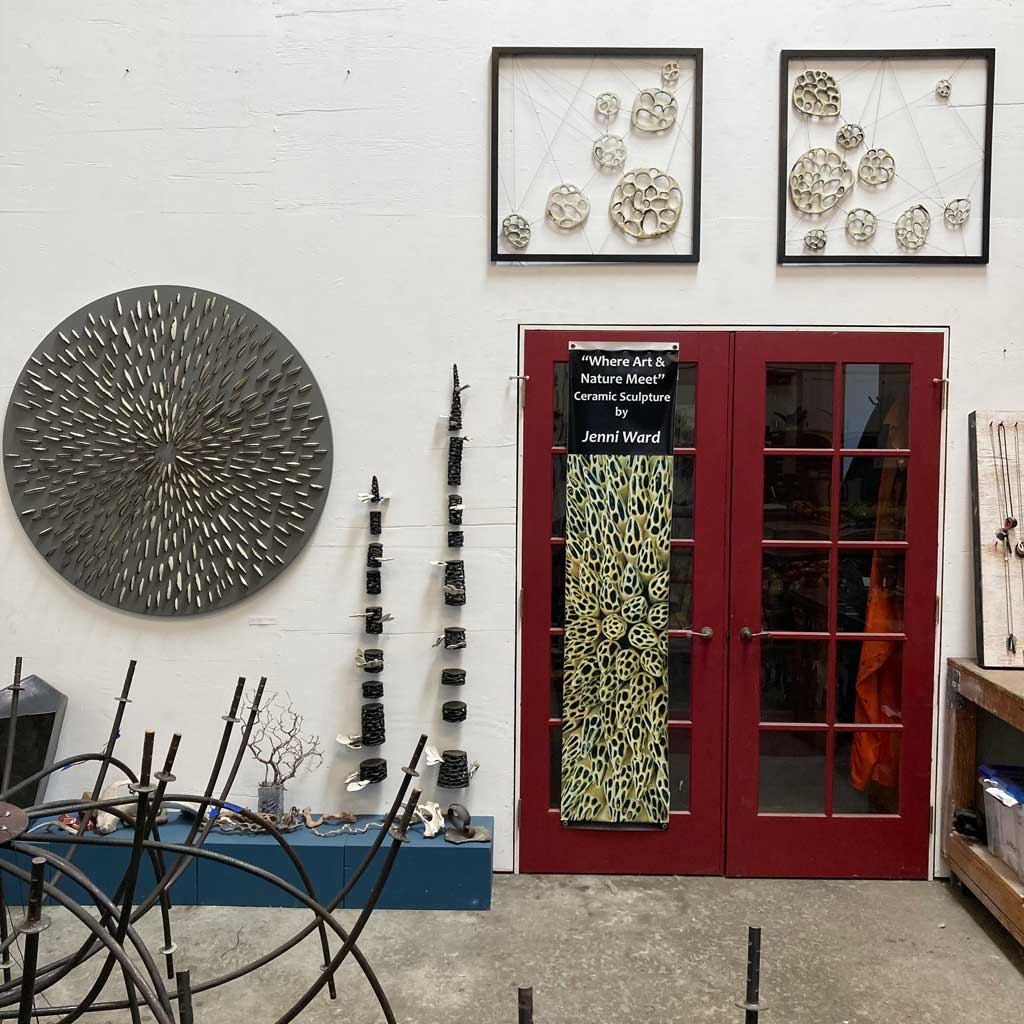
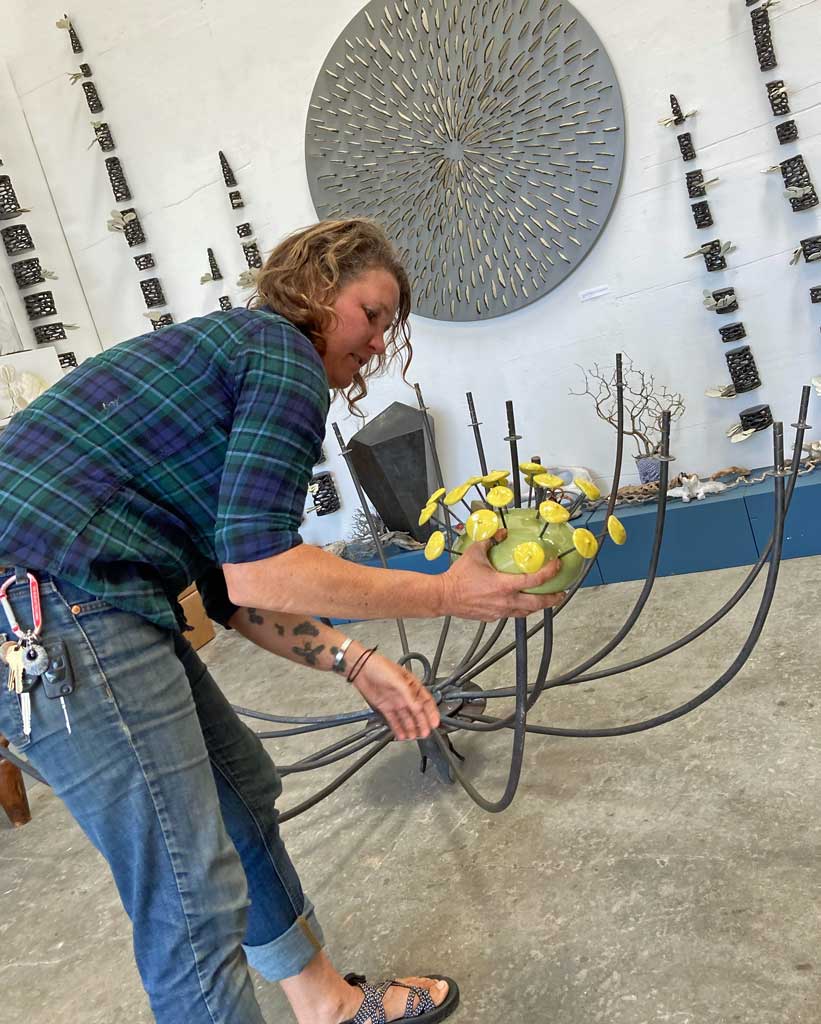
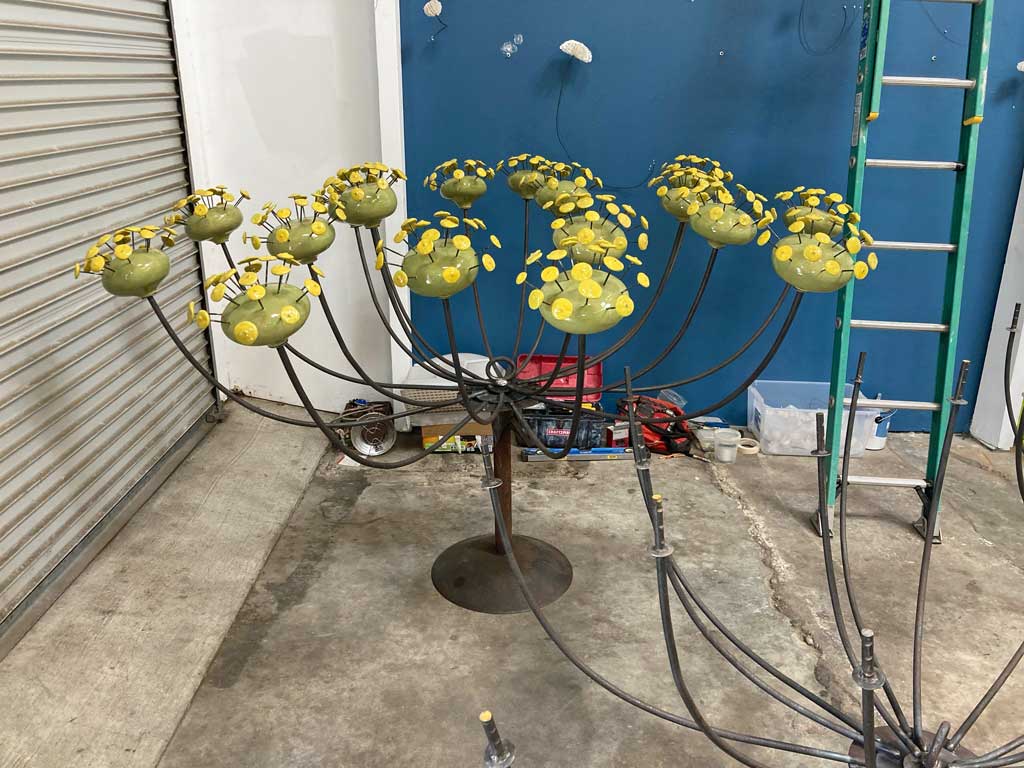
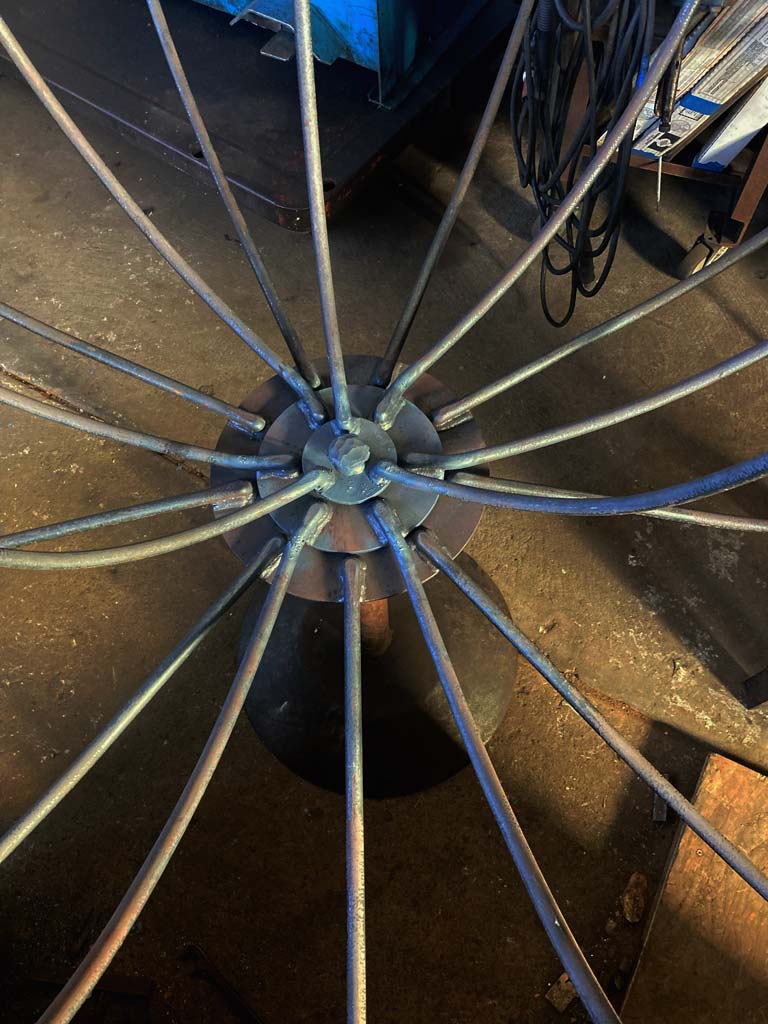
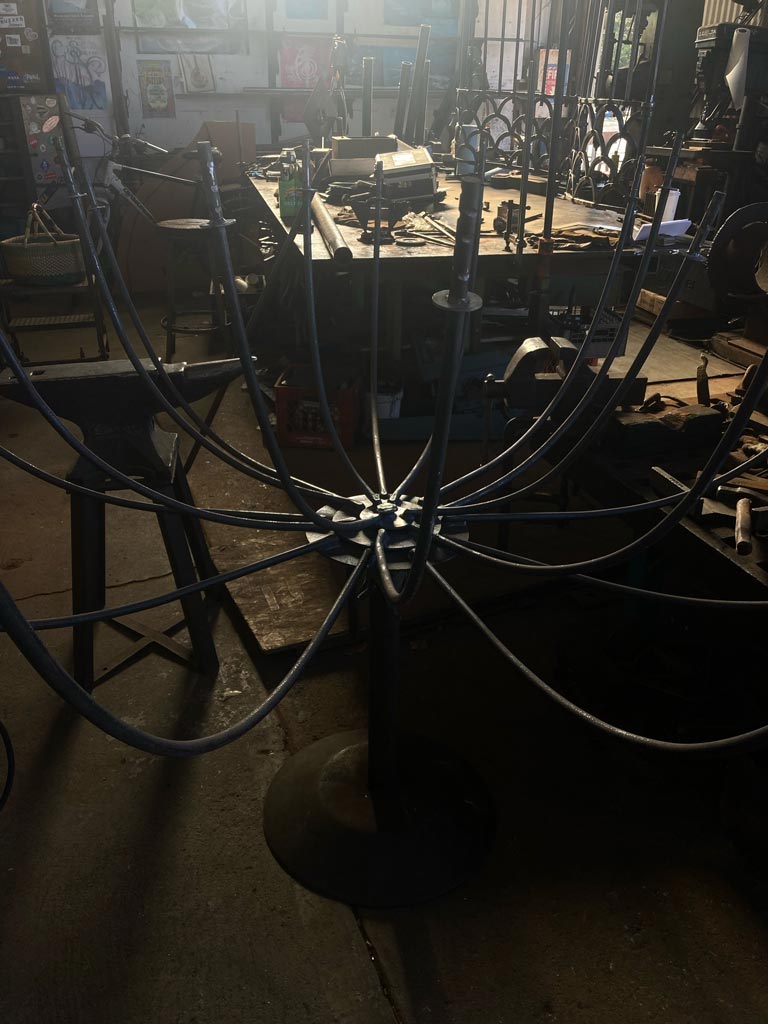
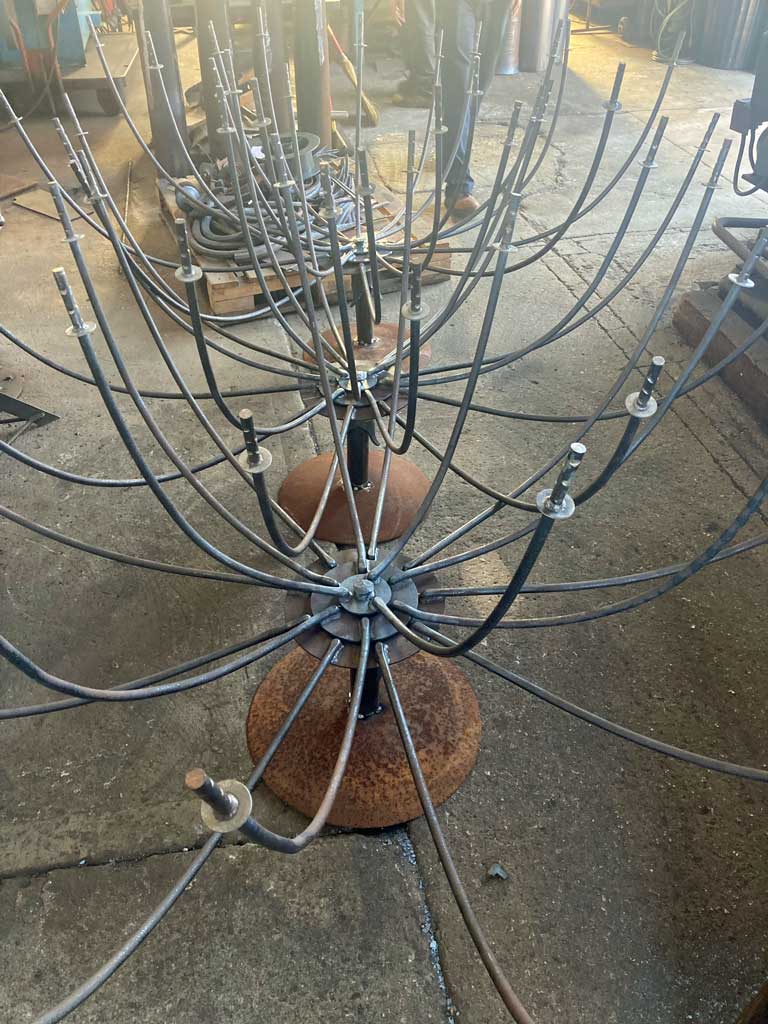
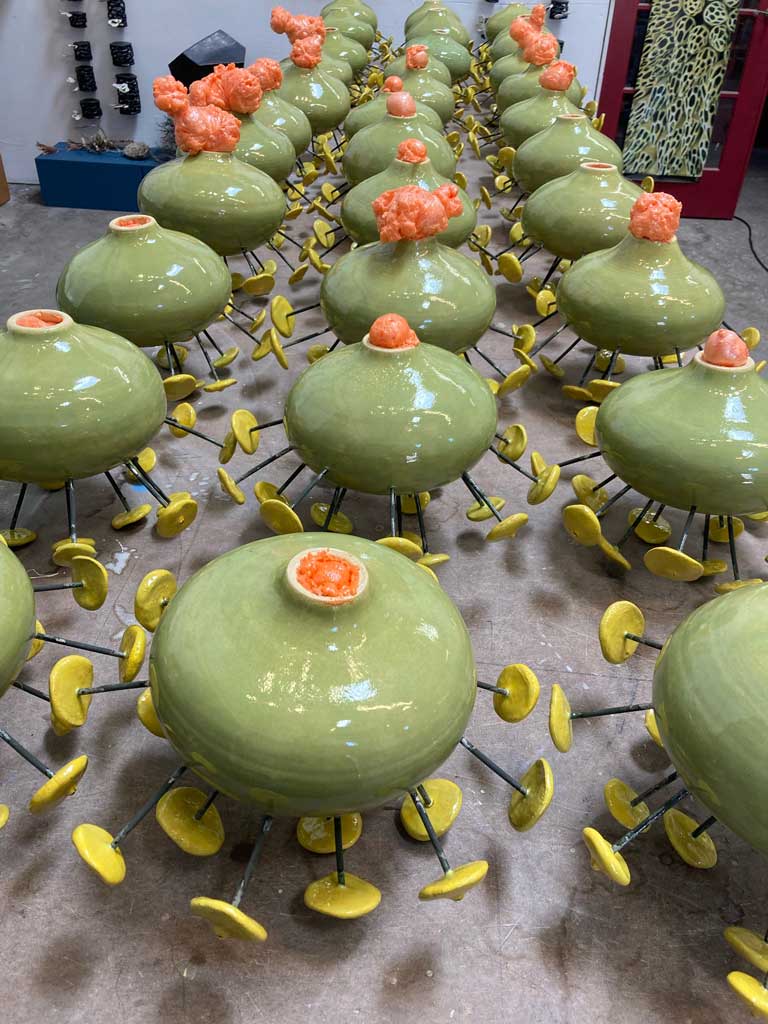
It’s been a crazy time in the studio as we rode out the wave of Open Studios excitement and then dug in deep packing up the studio. It has kicked up fun random finds, some bittersweet emotions and a lot of dust. Some days I feel like I just keep moving the same things to new piles and nothing is actually getting accomplished but after a solid week of seemingly moving things in circles, there are actually some changes in the studio and some spaces are getting cleared. Thank you to everyone who took or has agreed to take some sort of random treasure with them, I love keeping things out of the landfill and the reality is that we just can’t take everything with us.
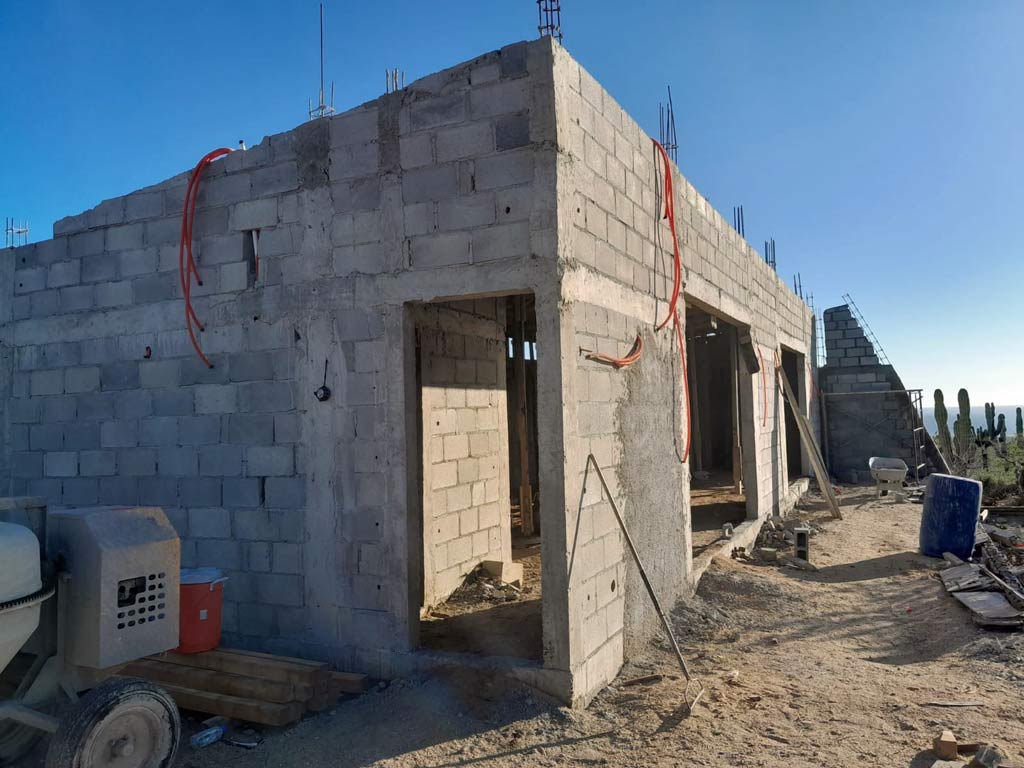
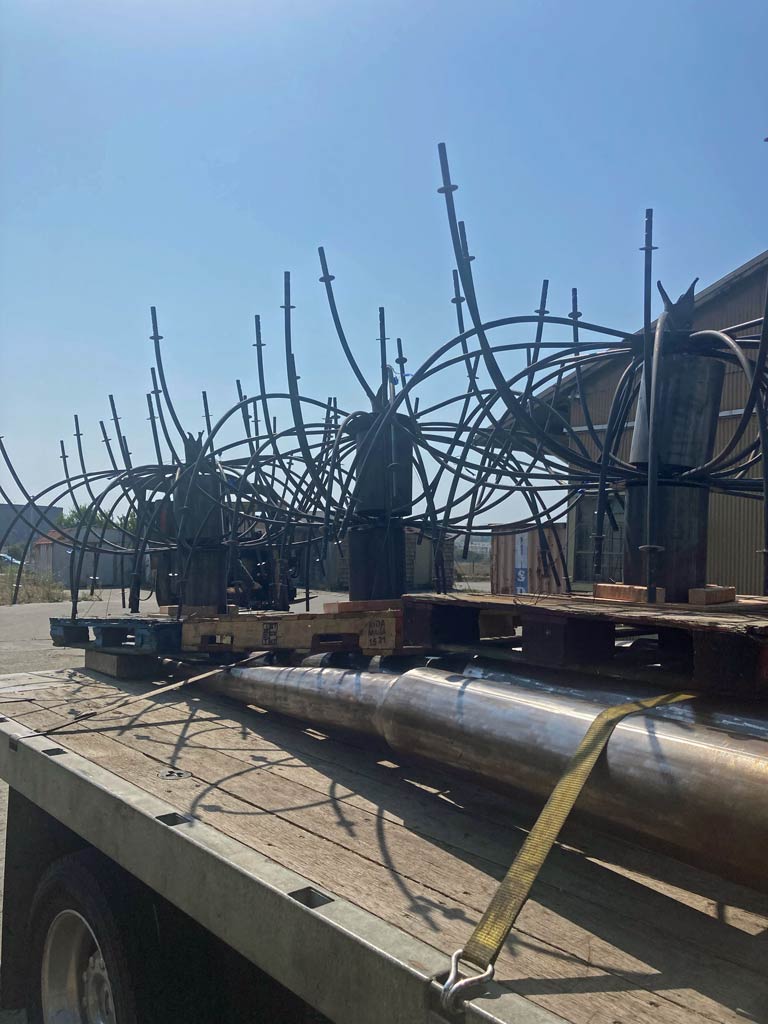
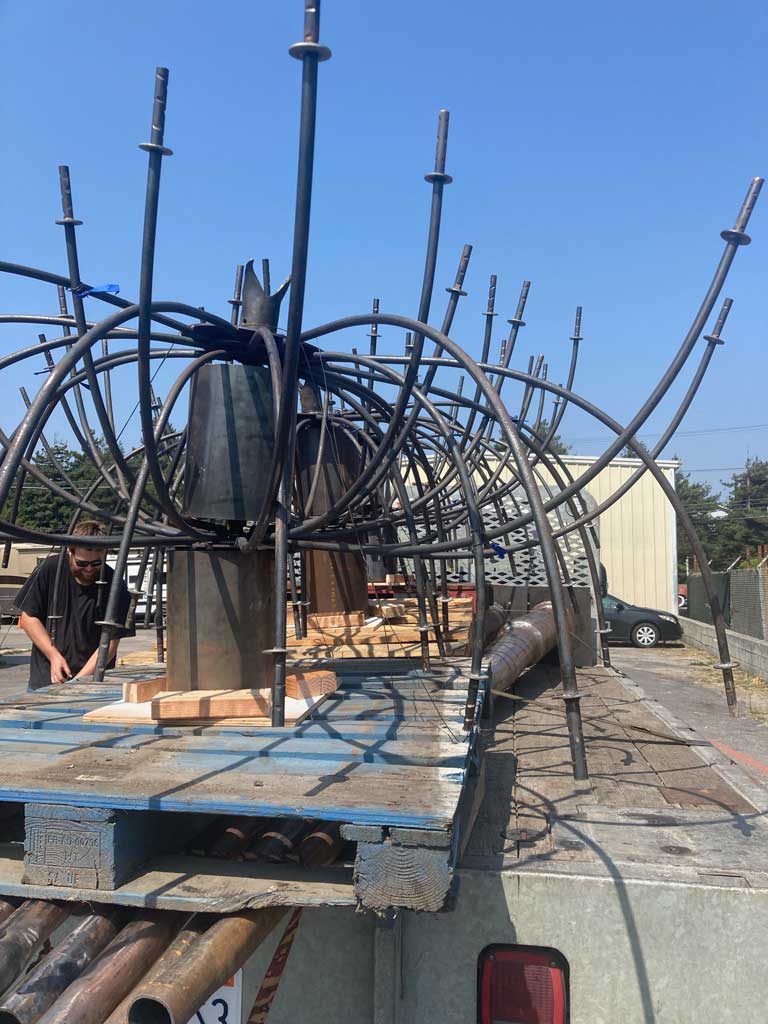
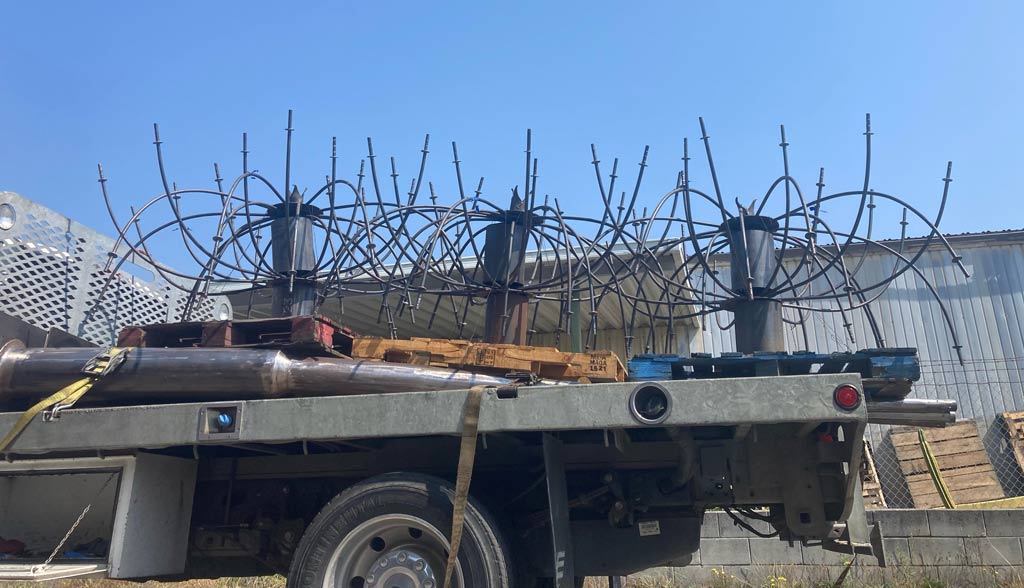
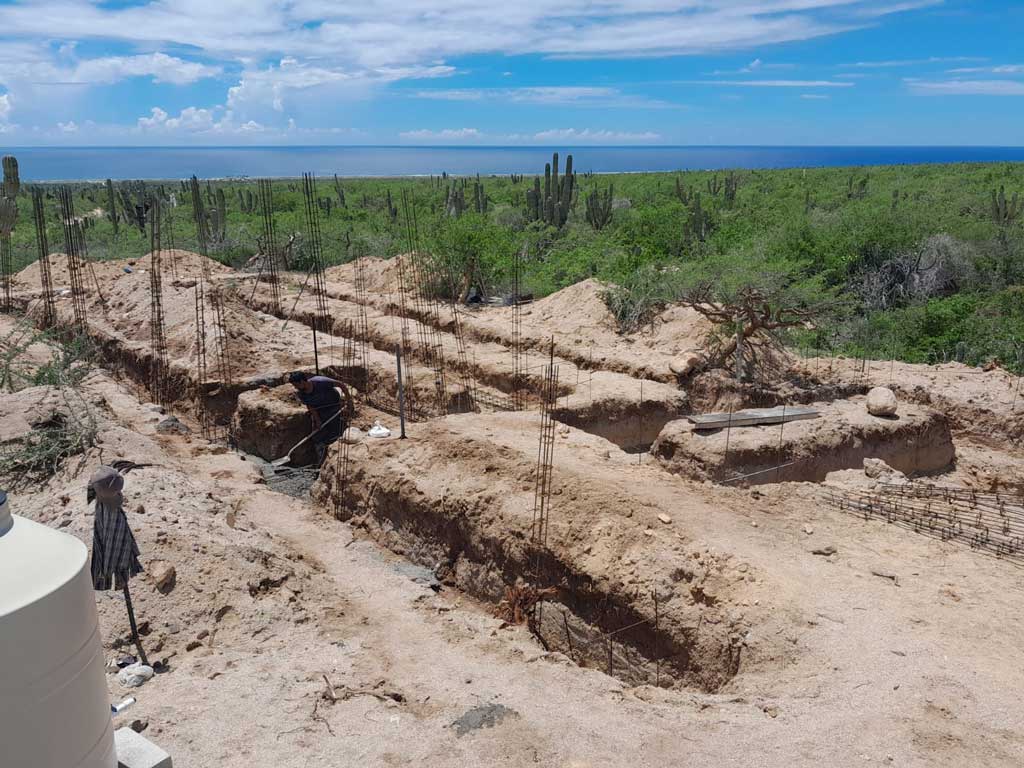
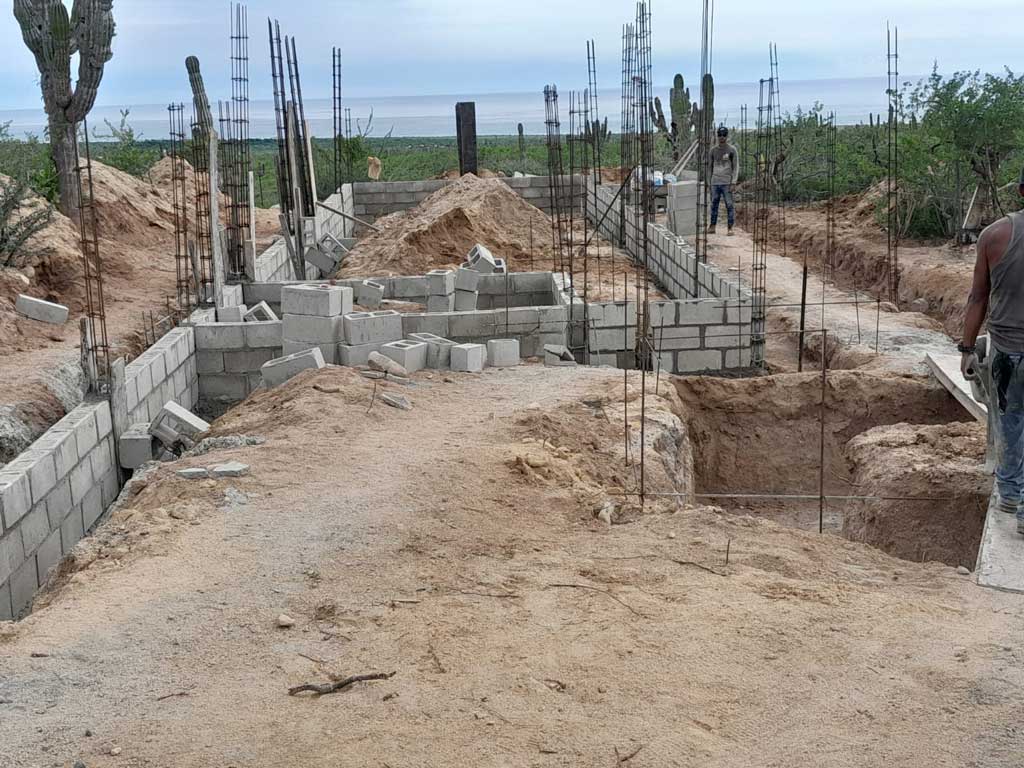
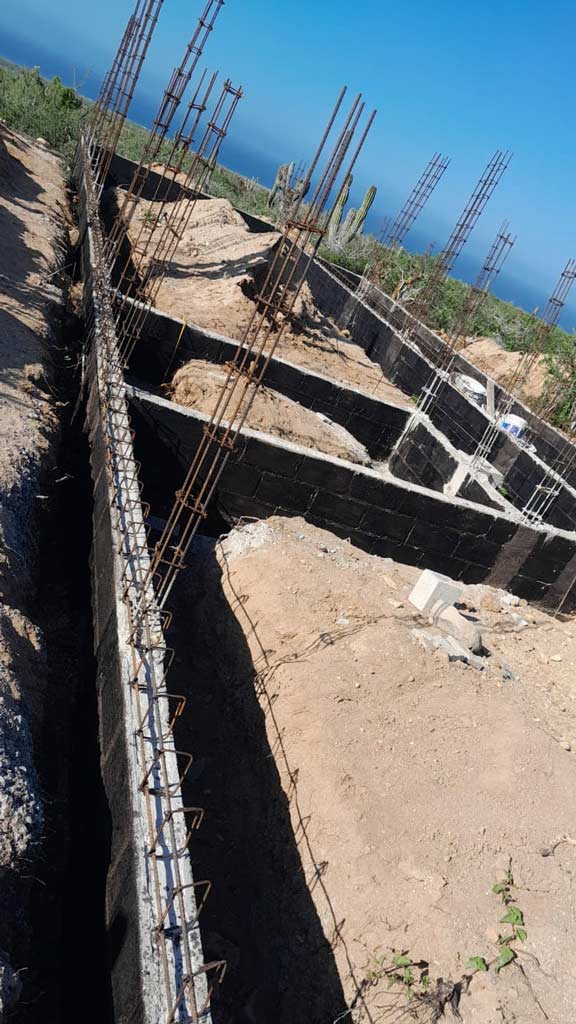
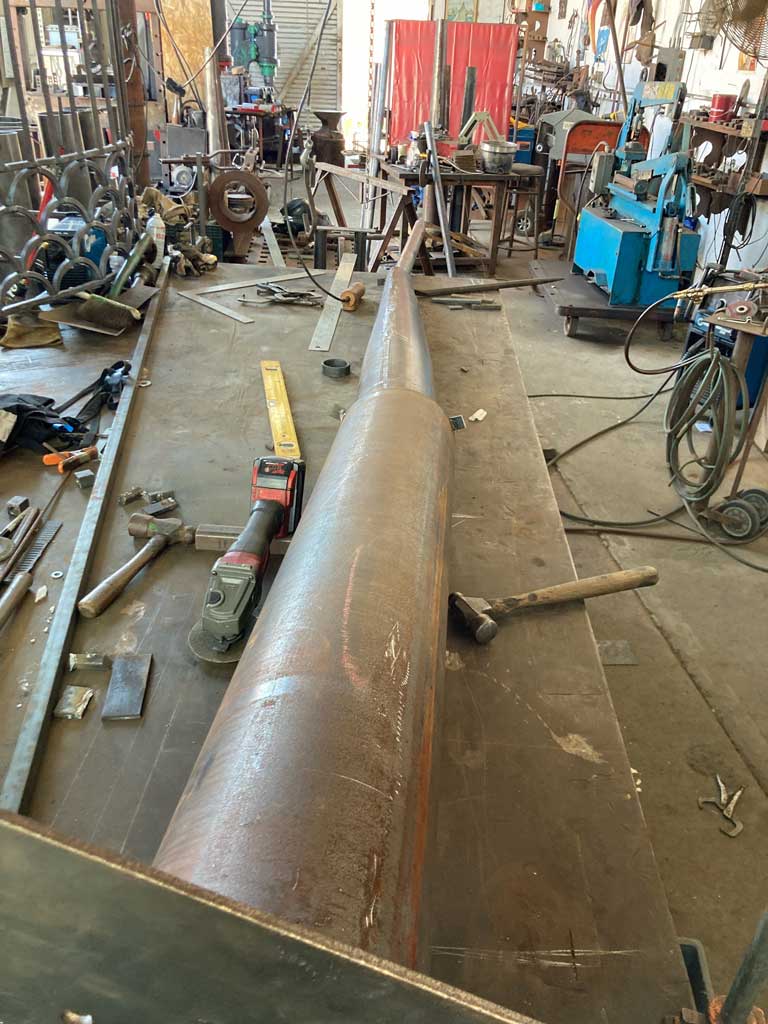
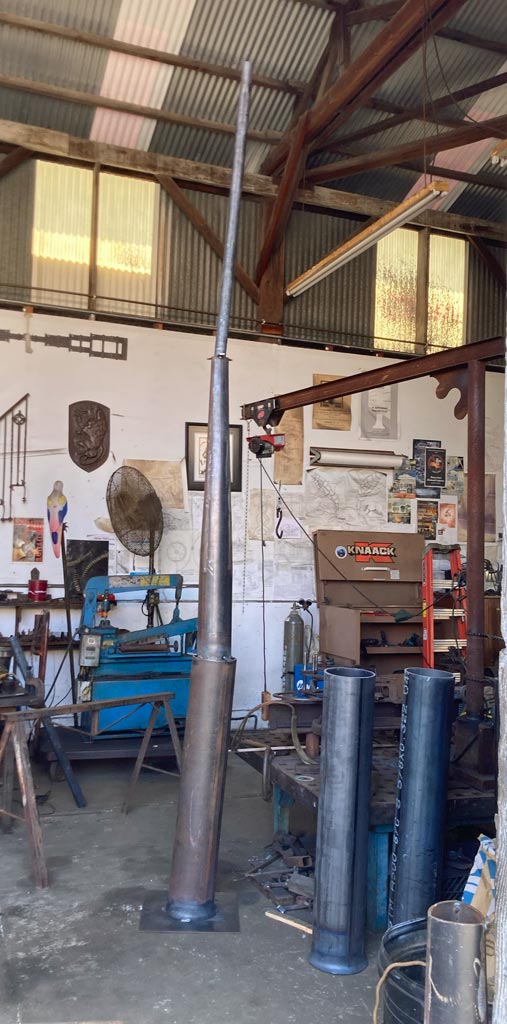
Meanwhile, 1500 hundred miles south of here, things are being created. My new studio on our property in Todos Santos, Baja Sur has really started to take shape. I’m really looking forward to seeing it in person very, very soon! Excited for all the changes but definitely feeling the exhaustion of it all too. Thanks to everyone who keeps checking in on us and cheering us on!


