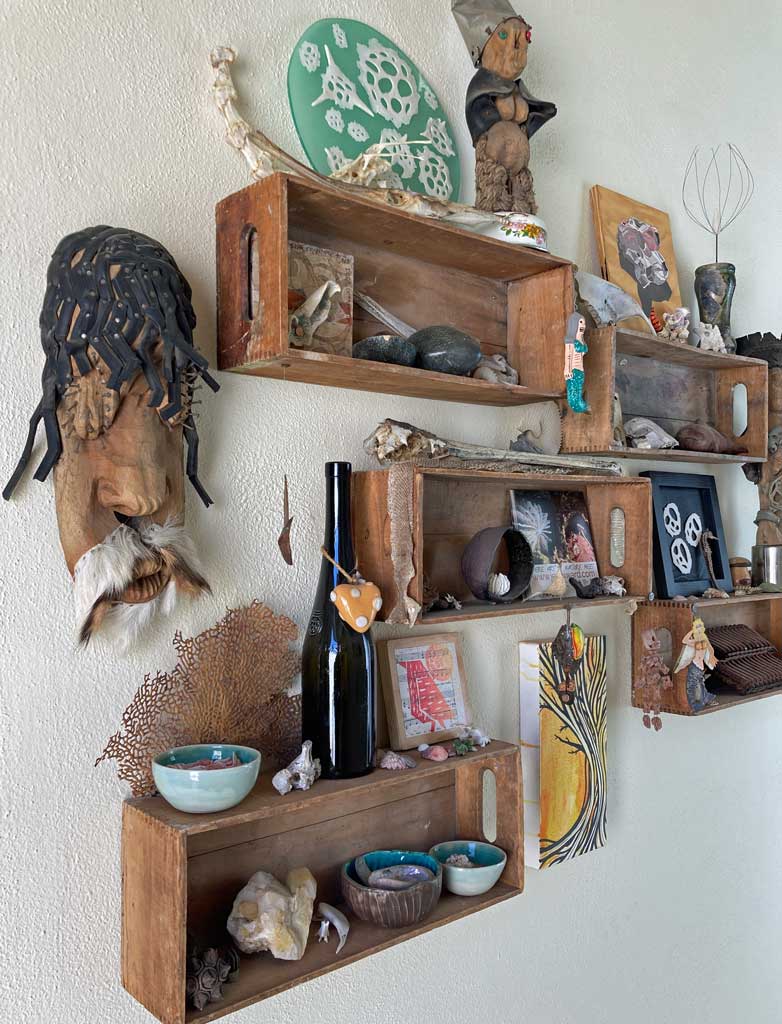
Since I’m still obsessed with all things plankton related, I couldn’t help but share this article NPR recently released on the connection between plankton and climate change. The science geek in me, loves to read about how important plankton are for sustaining life on our planet. The artist in me wants to figure out how I can share that knowledge through my art.
In the article, ‘How dead stuff at the bottom of the ocean helps slow the pace of climate change‘, Stanford bio-engineering professor Manu Prakash says, “The small stuff controls the big stuff. On our planet, that’s a rule that we should think about. That the small stuff really matters.”
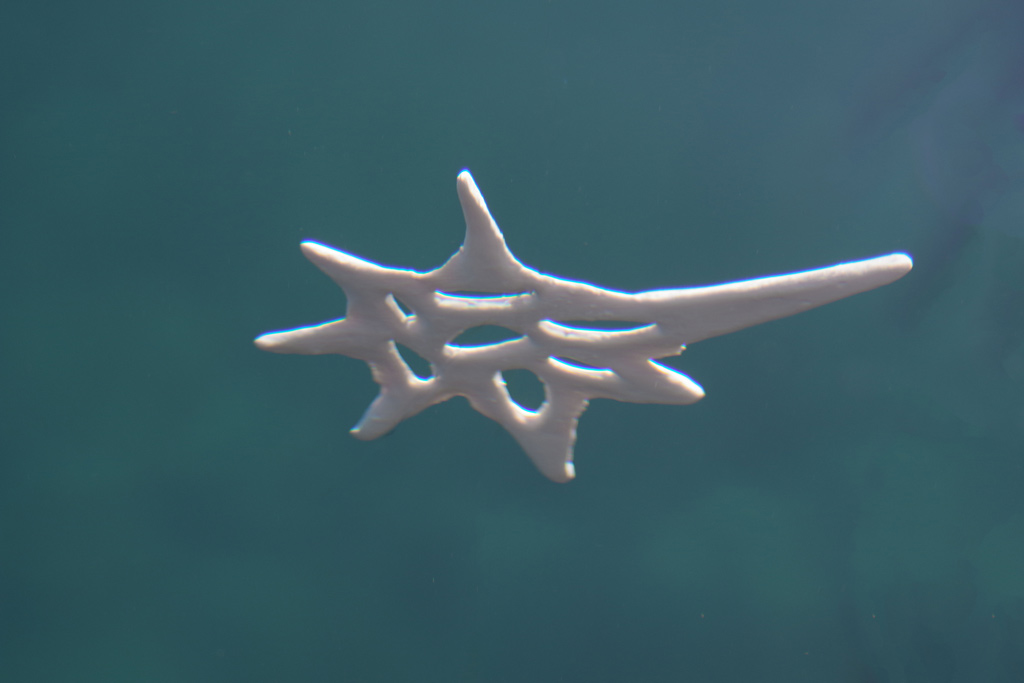
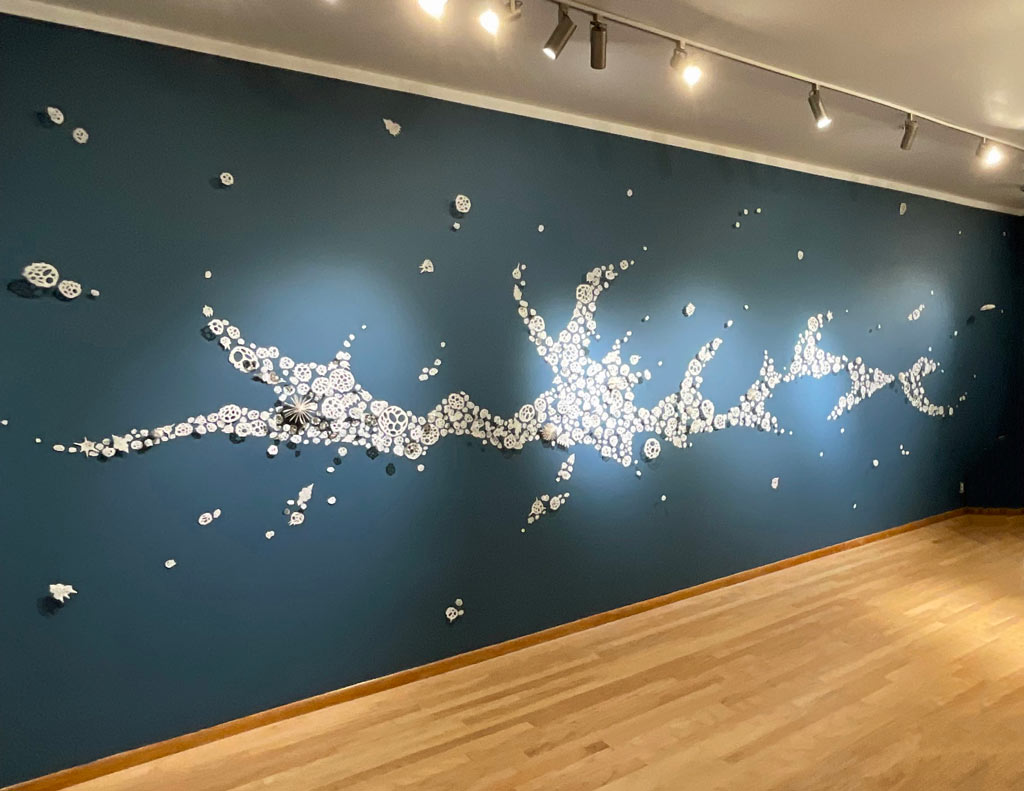
This idea relates well to my concept of creating the plankton blooms installations, taking a single cell plankton which are impossible to see with the naked eye, and making them made big enough to relate to in the gallery. Then assembled in the form of a plankton bloom, which in nature is big enough to be seen from space and shrinking it down to fit the gallery walls, ultimately, makes the unseen, seen. I love how changing our perspectives allow for the information to sink in through the visuals of art.
To read the full article, click here.